Anyway, if you’re doing “traditional” origami, you only have one square and thereby two possible colours (the front side’s and back side’s colours). I’m not exactly attached to traditional style though. For more colours, you can paint the model or use more sheets of paper.
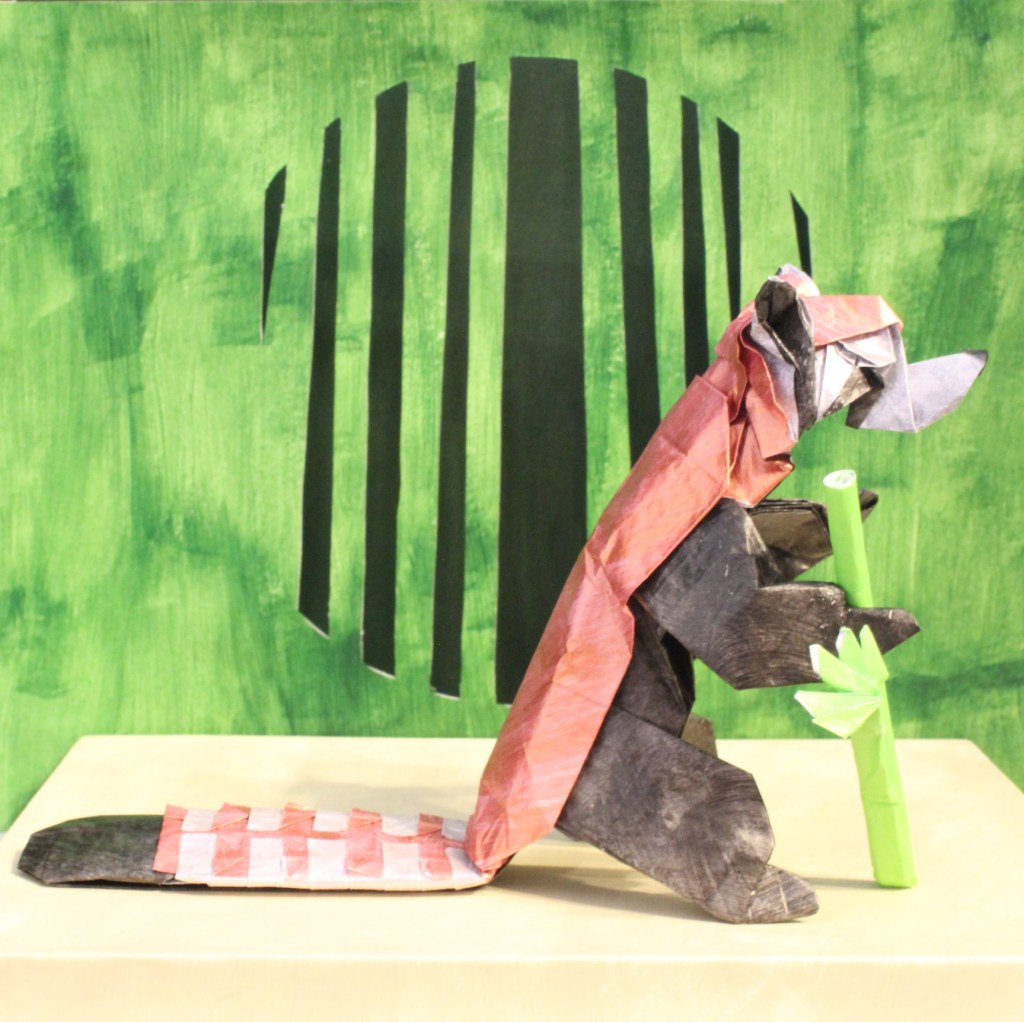
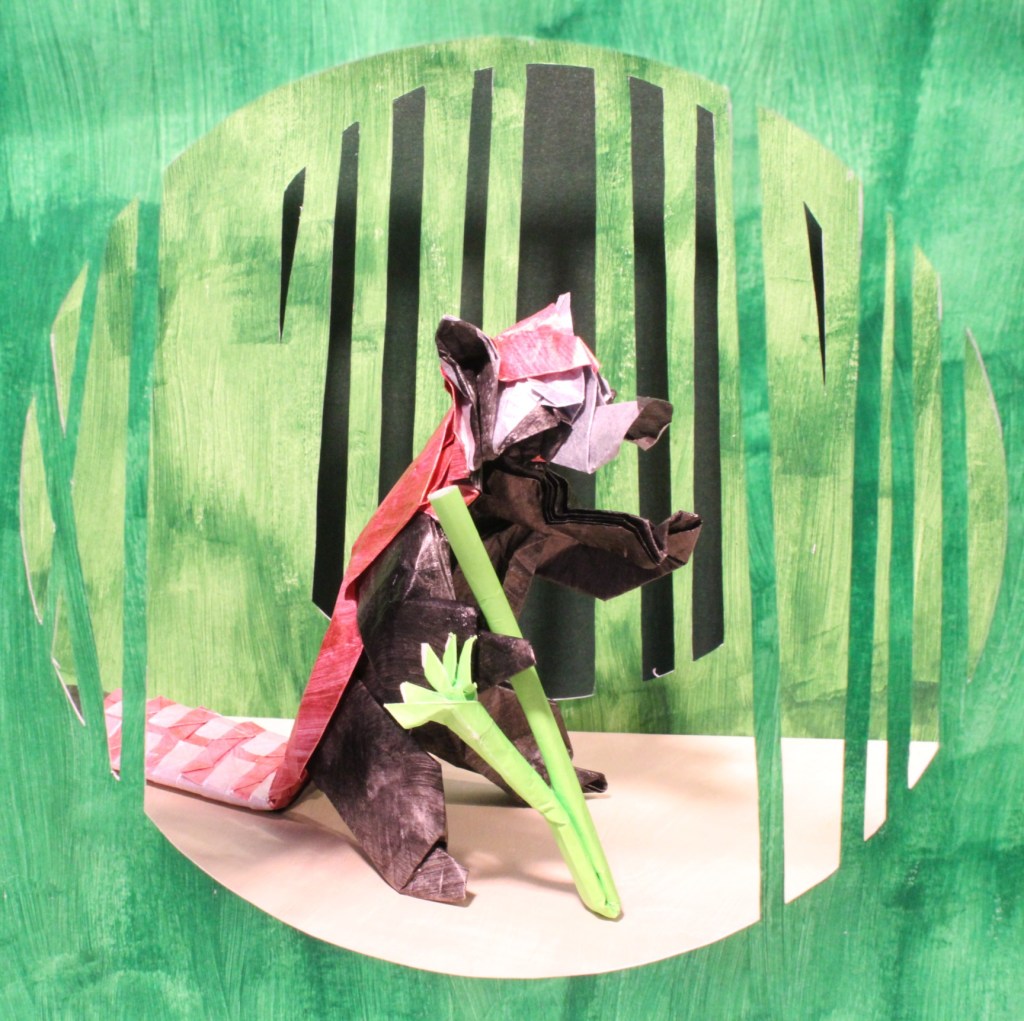
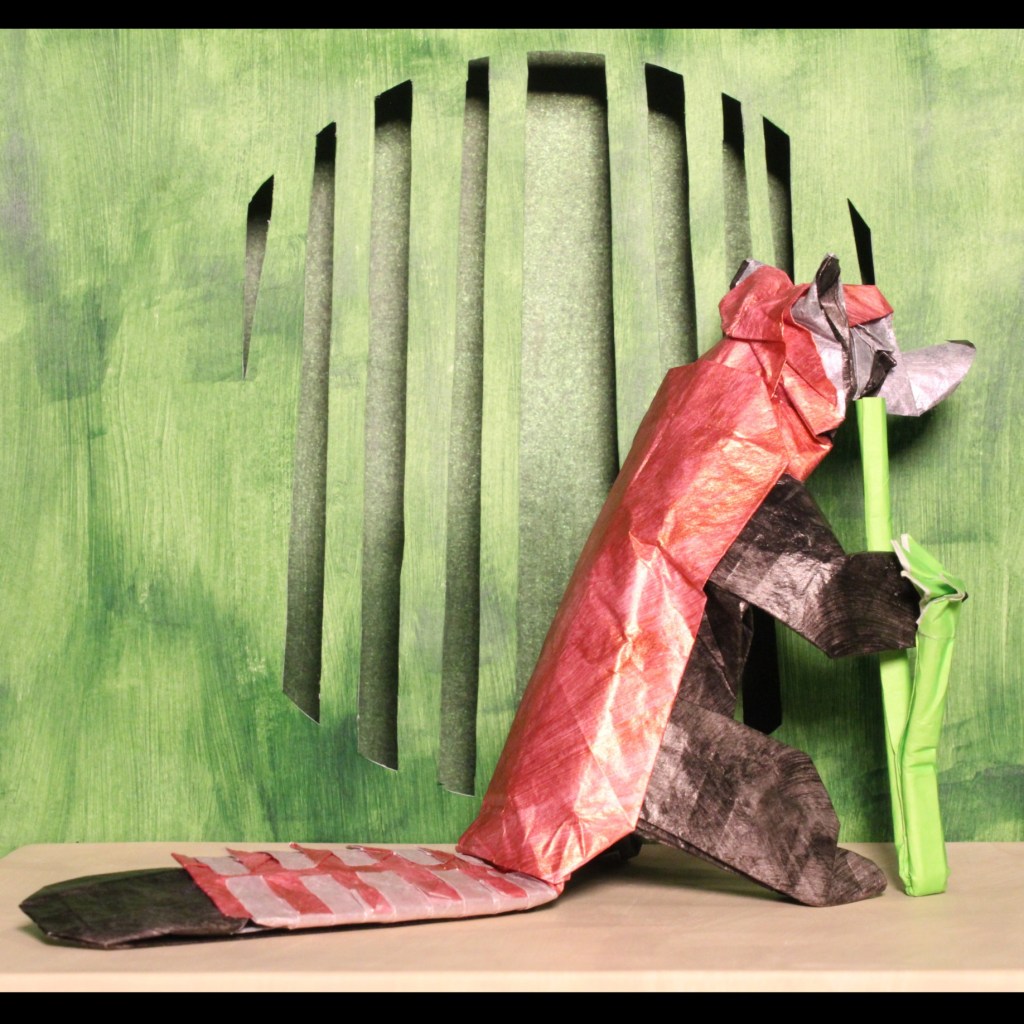
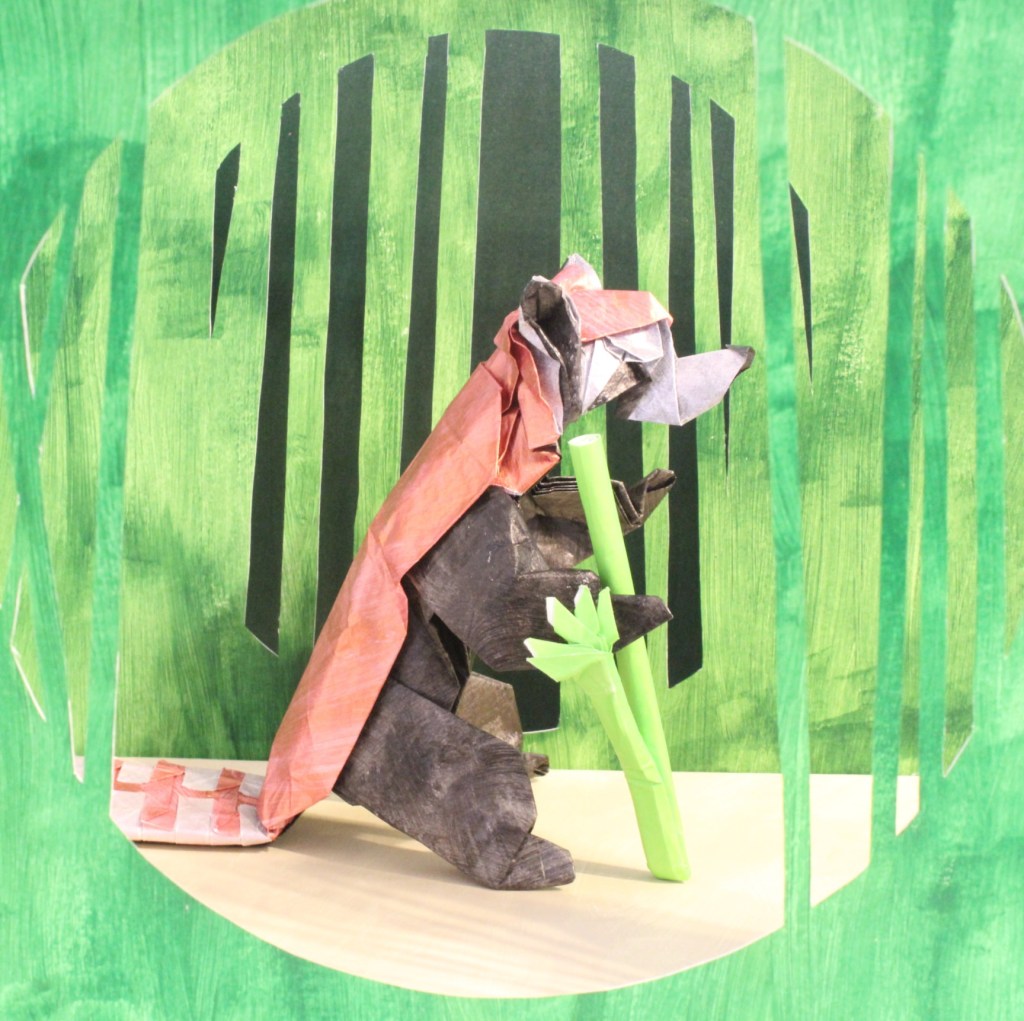
I’ve seen lots of 2 (or more) square origami (like some of the models in “The Beauty of Origami“), but not many complex ones. So I decided to make a semi-complex, 2 square red panda. The white is on both squares, so it’s 3 colours. One square is 2/3rds the other. I think it’s the red one (but I don’t have my notes right now).
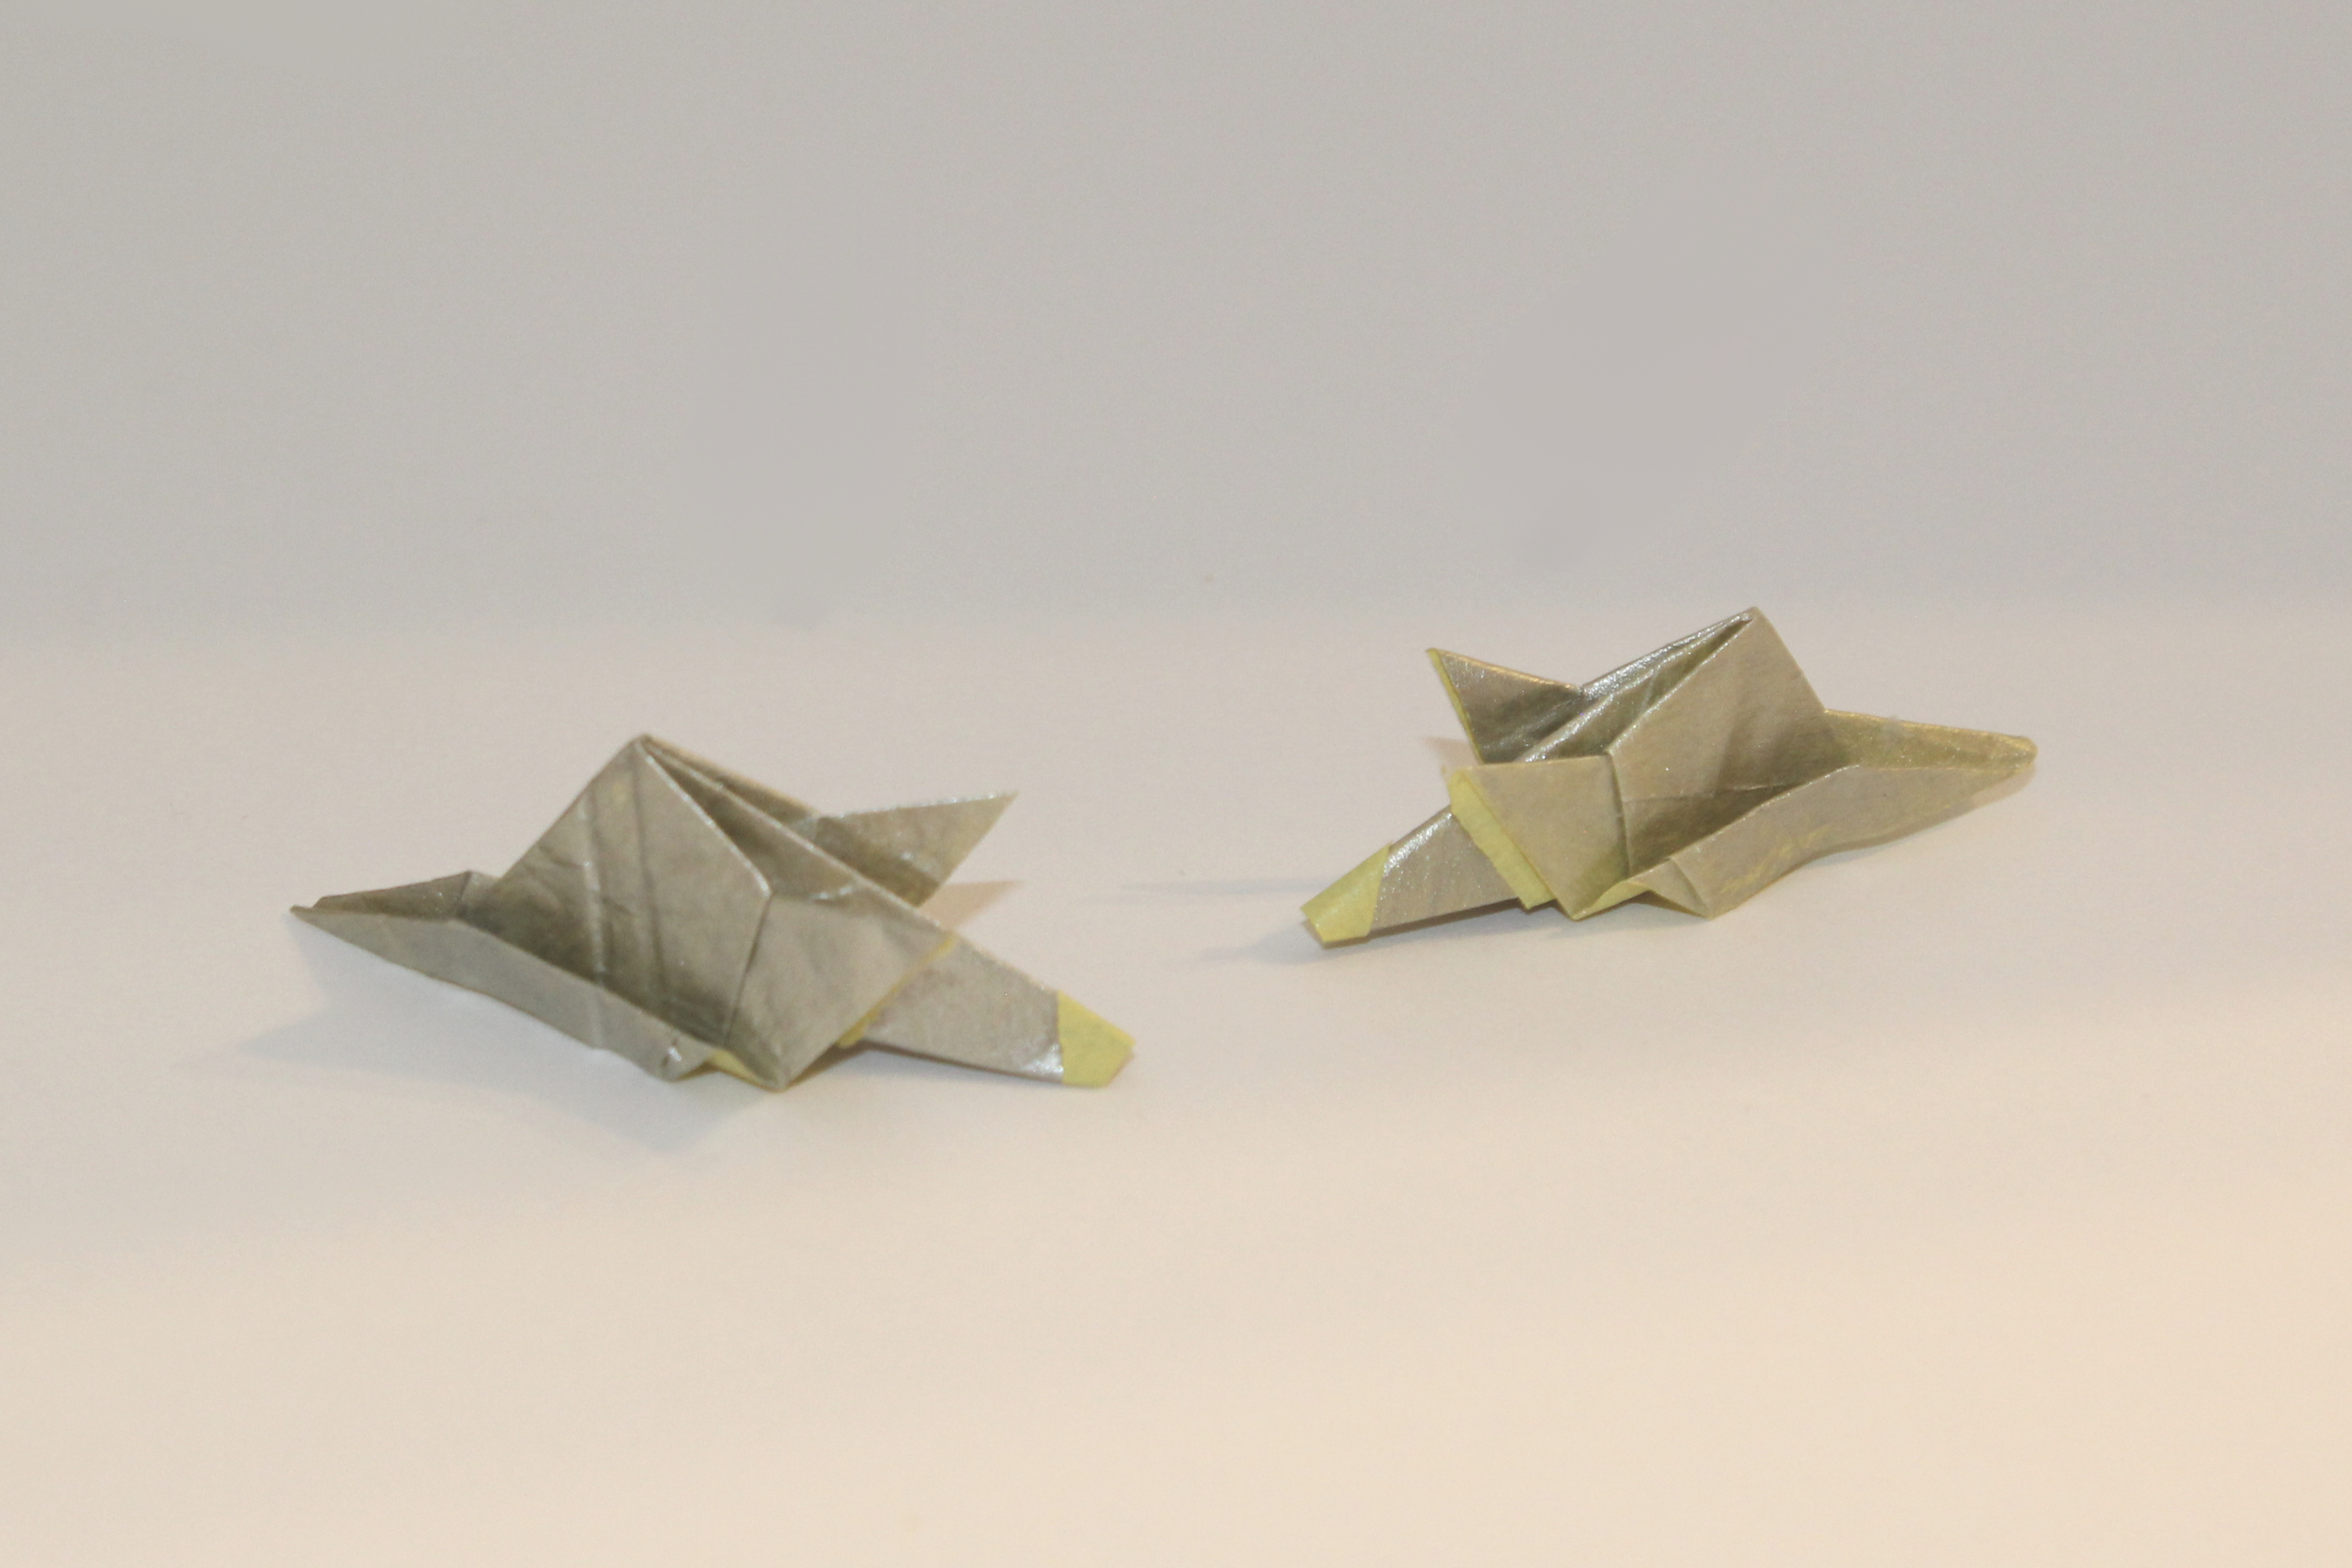
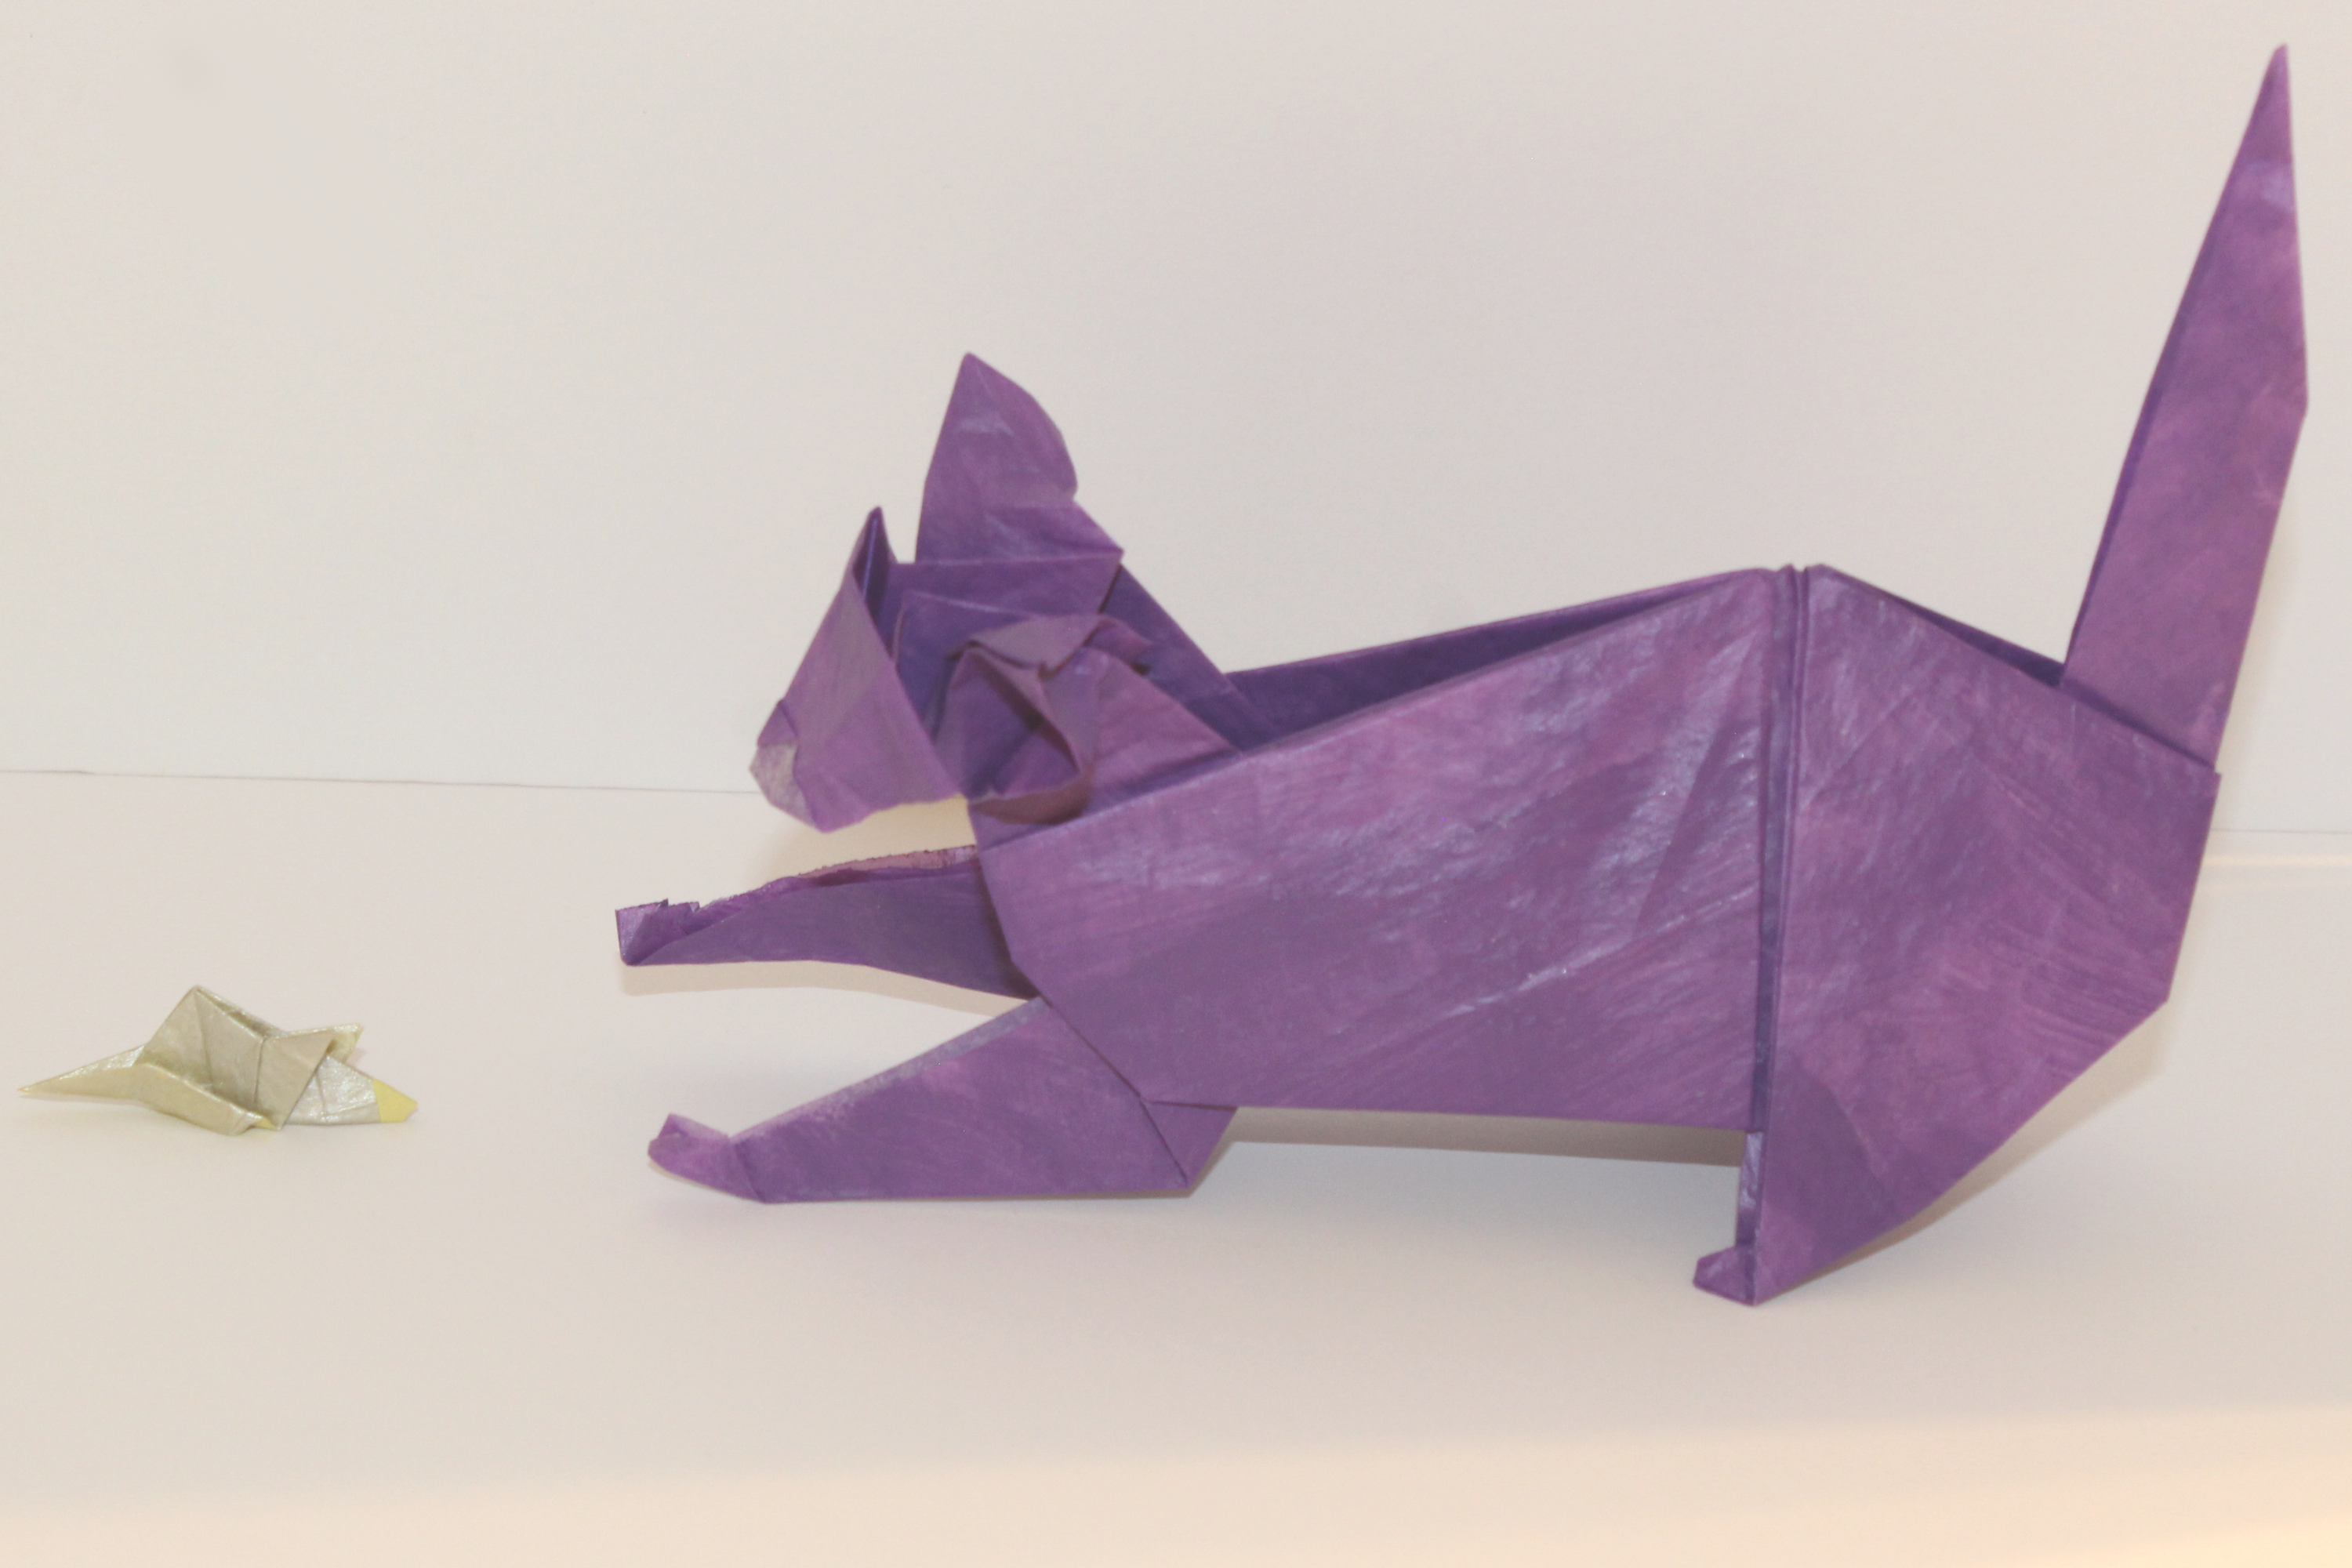
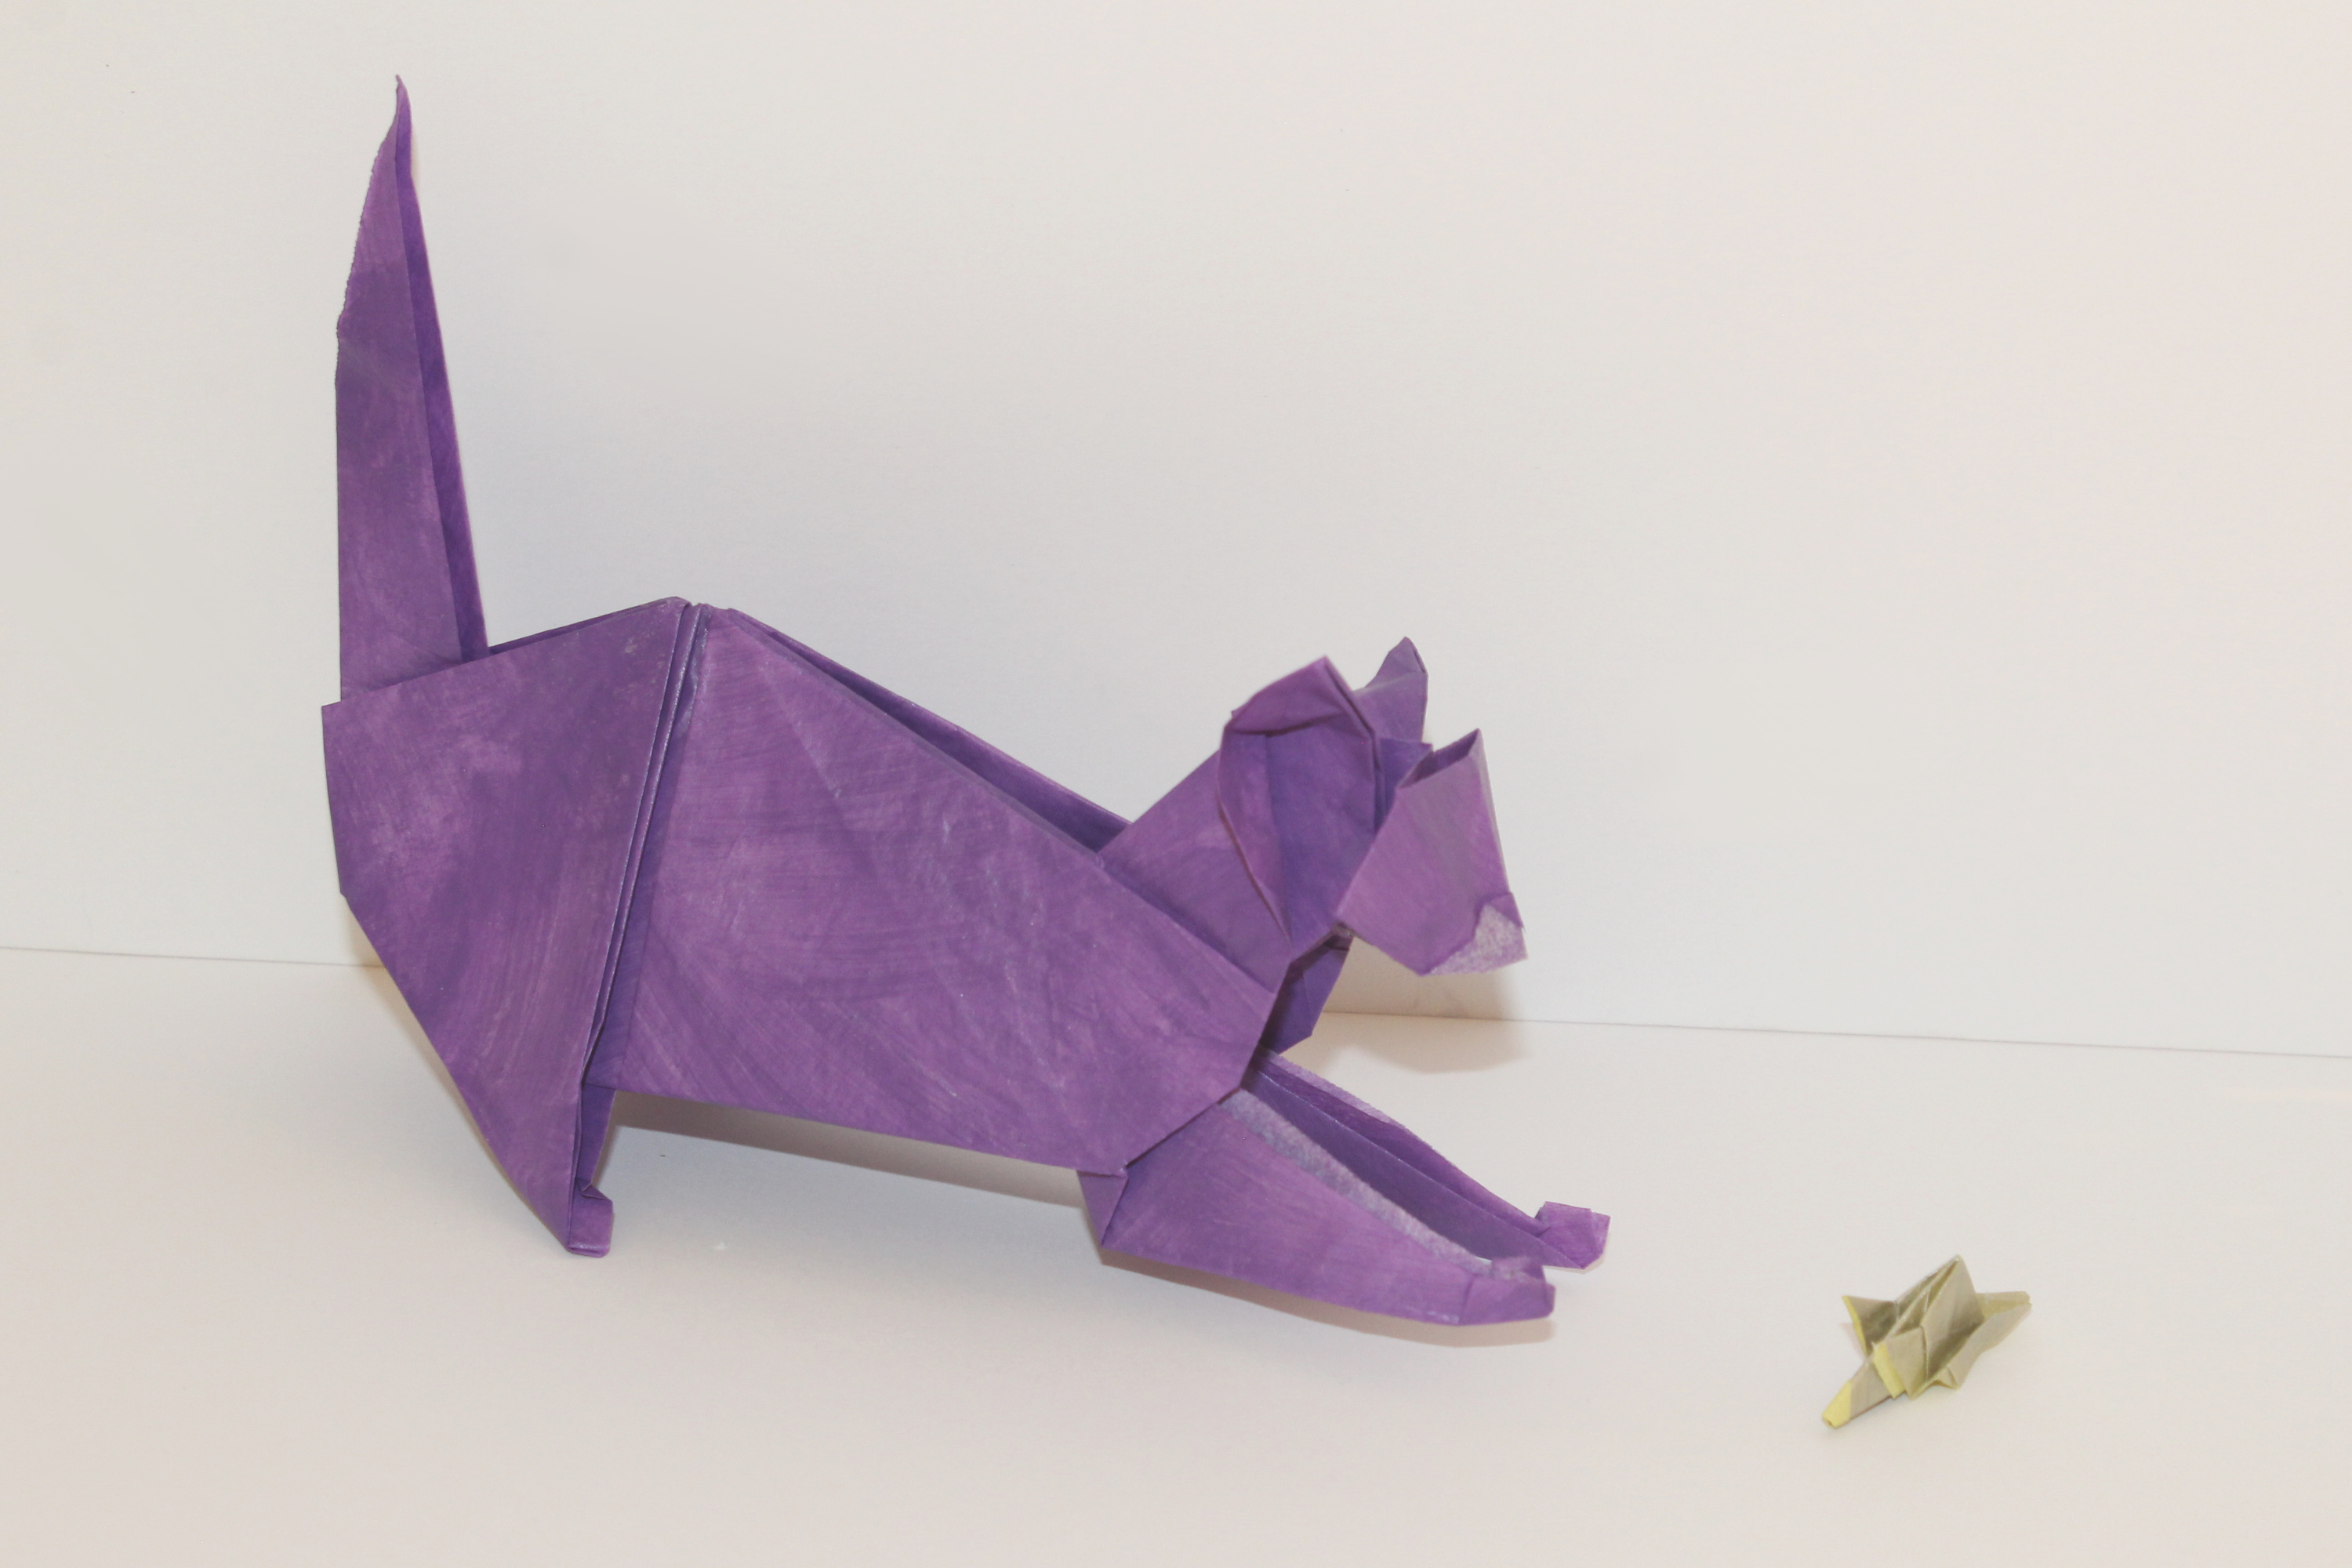
I made Yosuke Muroya’s Kitten from crease pattern! He’s cute (the kitten; I haven’t seen Yosuke Muroya). I also did up a little mouse friend for him. I had done this one before, but reversed part of the crease pattern causing the face to work out differently. I also have notes for how I did this model.
This is pretty wordy, but I can’t think of any way to avoid it.
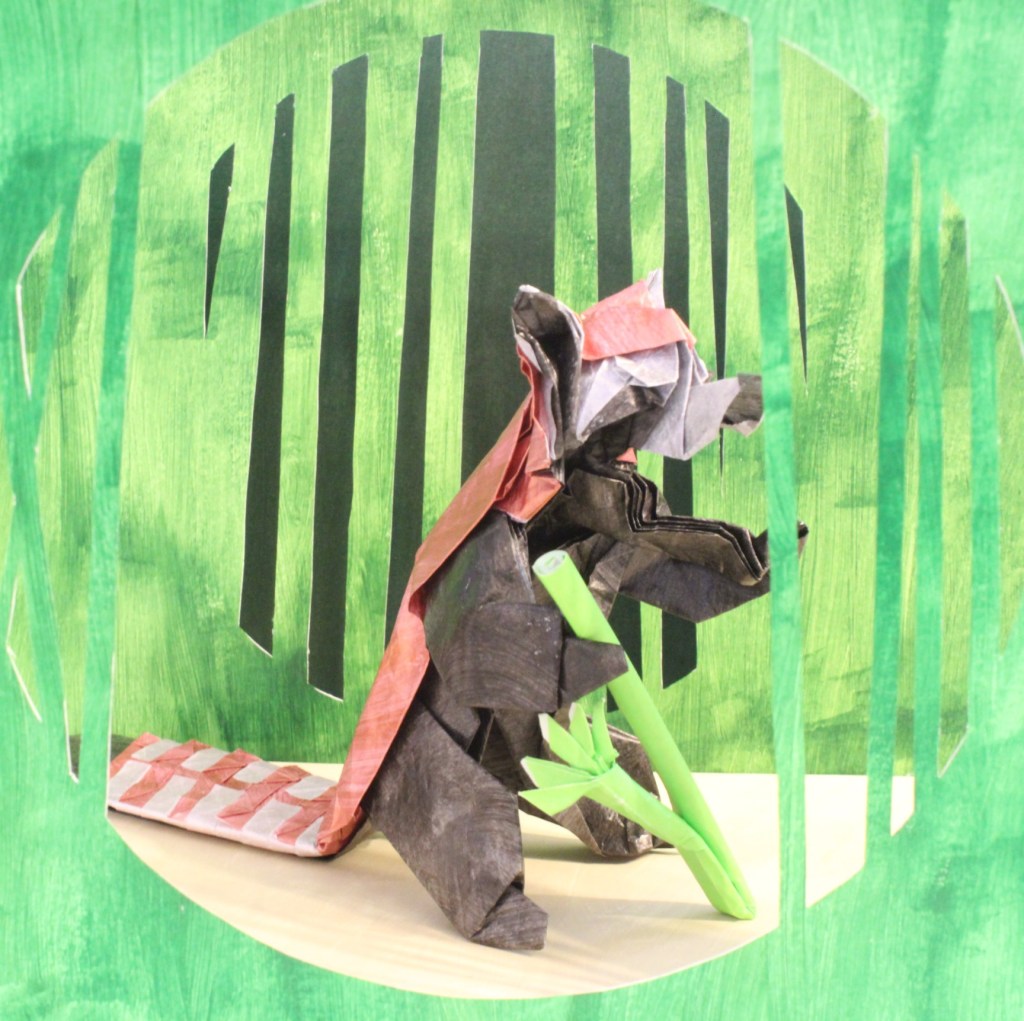
A user named Nyaalice asked for help with Yosuke Muroya’s Wolf by crease pattern on Reddit. The only comment (as of now) was something along the lines of “you should pay someone to help you”. Which is fine, I guess, but it seems strange in a subreddit with “Help!” flair.
That being said, it’s an odd model. The crease pattern and finished model image are both on flickr. It looks like something originally done by steps/diagrams rather than just collapsing a crease pattern. It usually takes luck to back-solve steps, so I can only do reference points/lines and tips for folding (the biggest two tips are at the end).
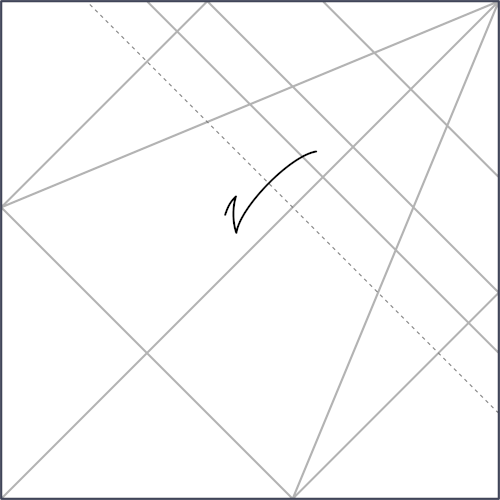
Fold and unfold the diagonal, angle bisectors, and a diagonal that connects them (you can see it there).
Fold and unfold the corner to the intersection shown (from the previous step), then to this new intersection.
Fold the edges parallel to the center diagonal starting at the bisectors-edge intersections.
Connect these previous two folds.
This is a bit odd, but you can see the distance to the nearby parallel crease is the same distance as that one is to the next. I crimp the previous two then fold down to get it.
Fold parallel creases (from 1 and 3) to align.
Connect these intersections. This will mirror folds on the other sides of the folds from 6.
Those are the main reference creases; other lines are largely diagonal halves or quarters of some combination of these folds.
Finding where (most of) the creases are isn’t really the difficult part of the model though, so I have some tips on how to fold it. The model doesn’t specify its folds polarities (mountain or valley), so I want to clarify that my tips are at least somewhat subjective. Also, hope I’m not stepping on any toes by including sections of the original crease pattern.
First, some general tips:
On his crease pattern, the head is the top right corner, and the tail is at the bottom left.
Precrease all around the front legs and the just before the head (between the folds in my second precrease image) then unfold. Start collapsing from the back legs.
The side flaps (precrease pic 3) can be folded under/inside and ignored.
The tail and leg section need inside reverse folds/sinks to separate them. Conversely, the bisectors near the head should mostly be kept folded while the head is folded.
I don’t exactly know how the tail is supposed to work, so I just winged that (wung? idk).
Biggest Tips:
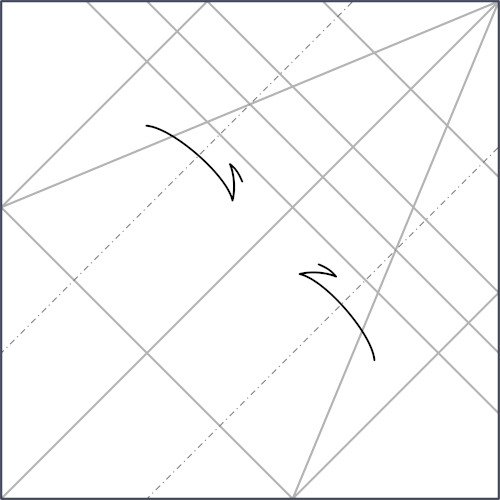
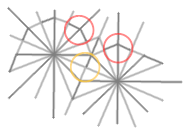
In my opinion, there are two difficult sections in this crease pattern: The crimp near the center and the two “sinks” to the side of this.
The Crimp:
It helped me to precrease this section separately before folding (either way, here’s the logic). For now, ignore the “sinks” to either side of this section. Fold the red lines as a crimp with the bottom and top ones valley folds and center as mountain. The head/neck starts as the double outside reverse fold of the green highlighted ones (I don’t know the exact placement but just ballparked them).
While doing the outside reverse fold, fold the center diagonal as a valley fold and the parallel ones to the sides as mountain. With this, the crimp section will line up with the body, but it will interfere with the rest of the model. The blue lines are actually one fold, a similar double outside reverse fold, to line it up with the neck and get it out of the way. This is why there’s a small square in the middle: when the head is folded back inside and out, the top of the crimp is folded with it.
The “Sink”:
Note the quotation marks. These look like traditional “sink in and back out” sections. However, they don’t seem to be (certainly not in a traditional sense). Rather, when you fold the body and legs, they don’t line up exactly with each other. These are initially folded in the center, and then folded back and forth as a group to line up the internal and external. I suppose this doesn’t sound too on the ball or whatever, but I folded the surrounding sections (first the tail and back, then the front legs, and then the internal crimp and neck) and just messed with the model a bit to get it to fit, assuming the internal would work out like the pattern. That’s probably not true, but there’s a good chance the original artist did the same initially.
It’s still tricky, but knowing how most of it works with some trial and error will hopefully produce a wolf.
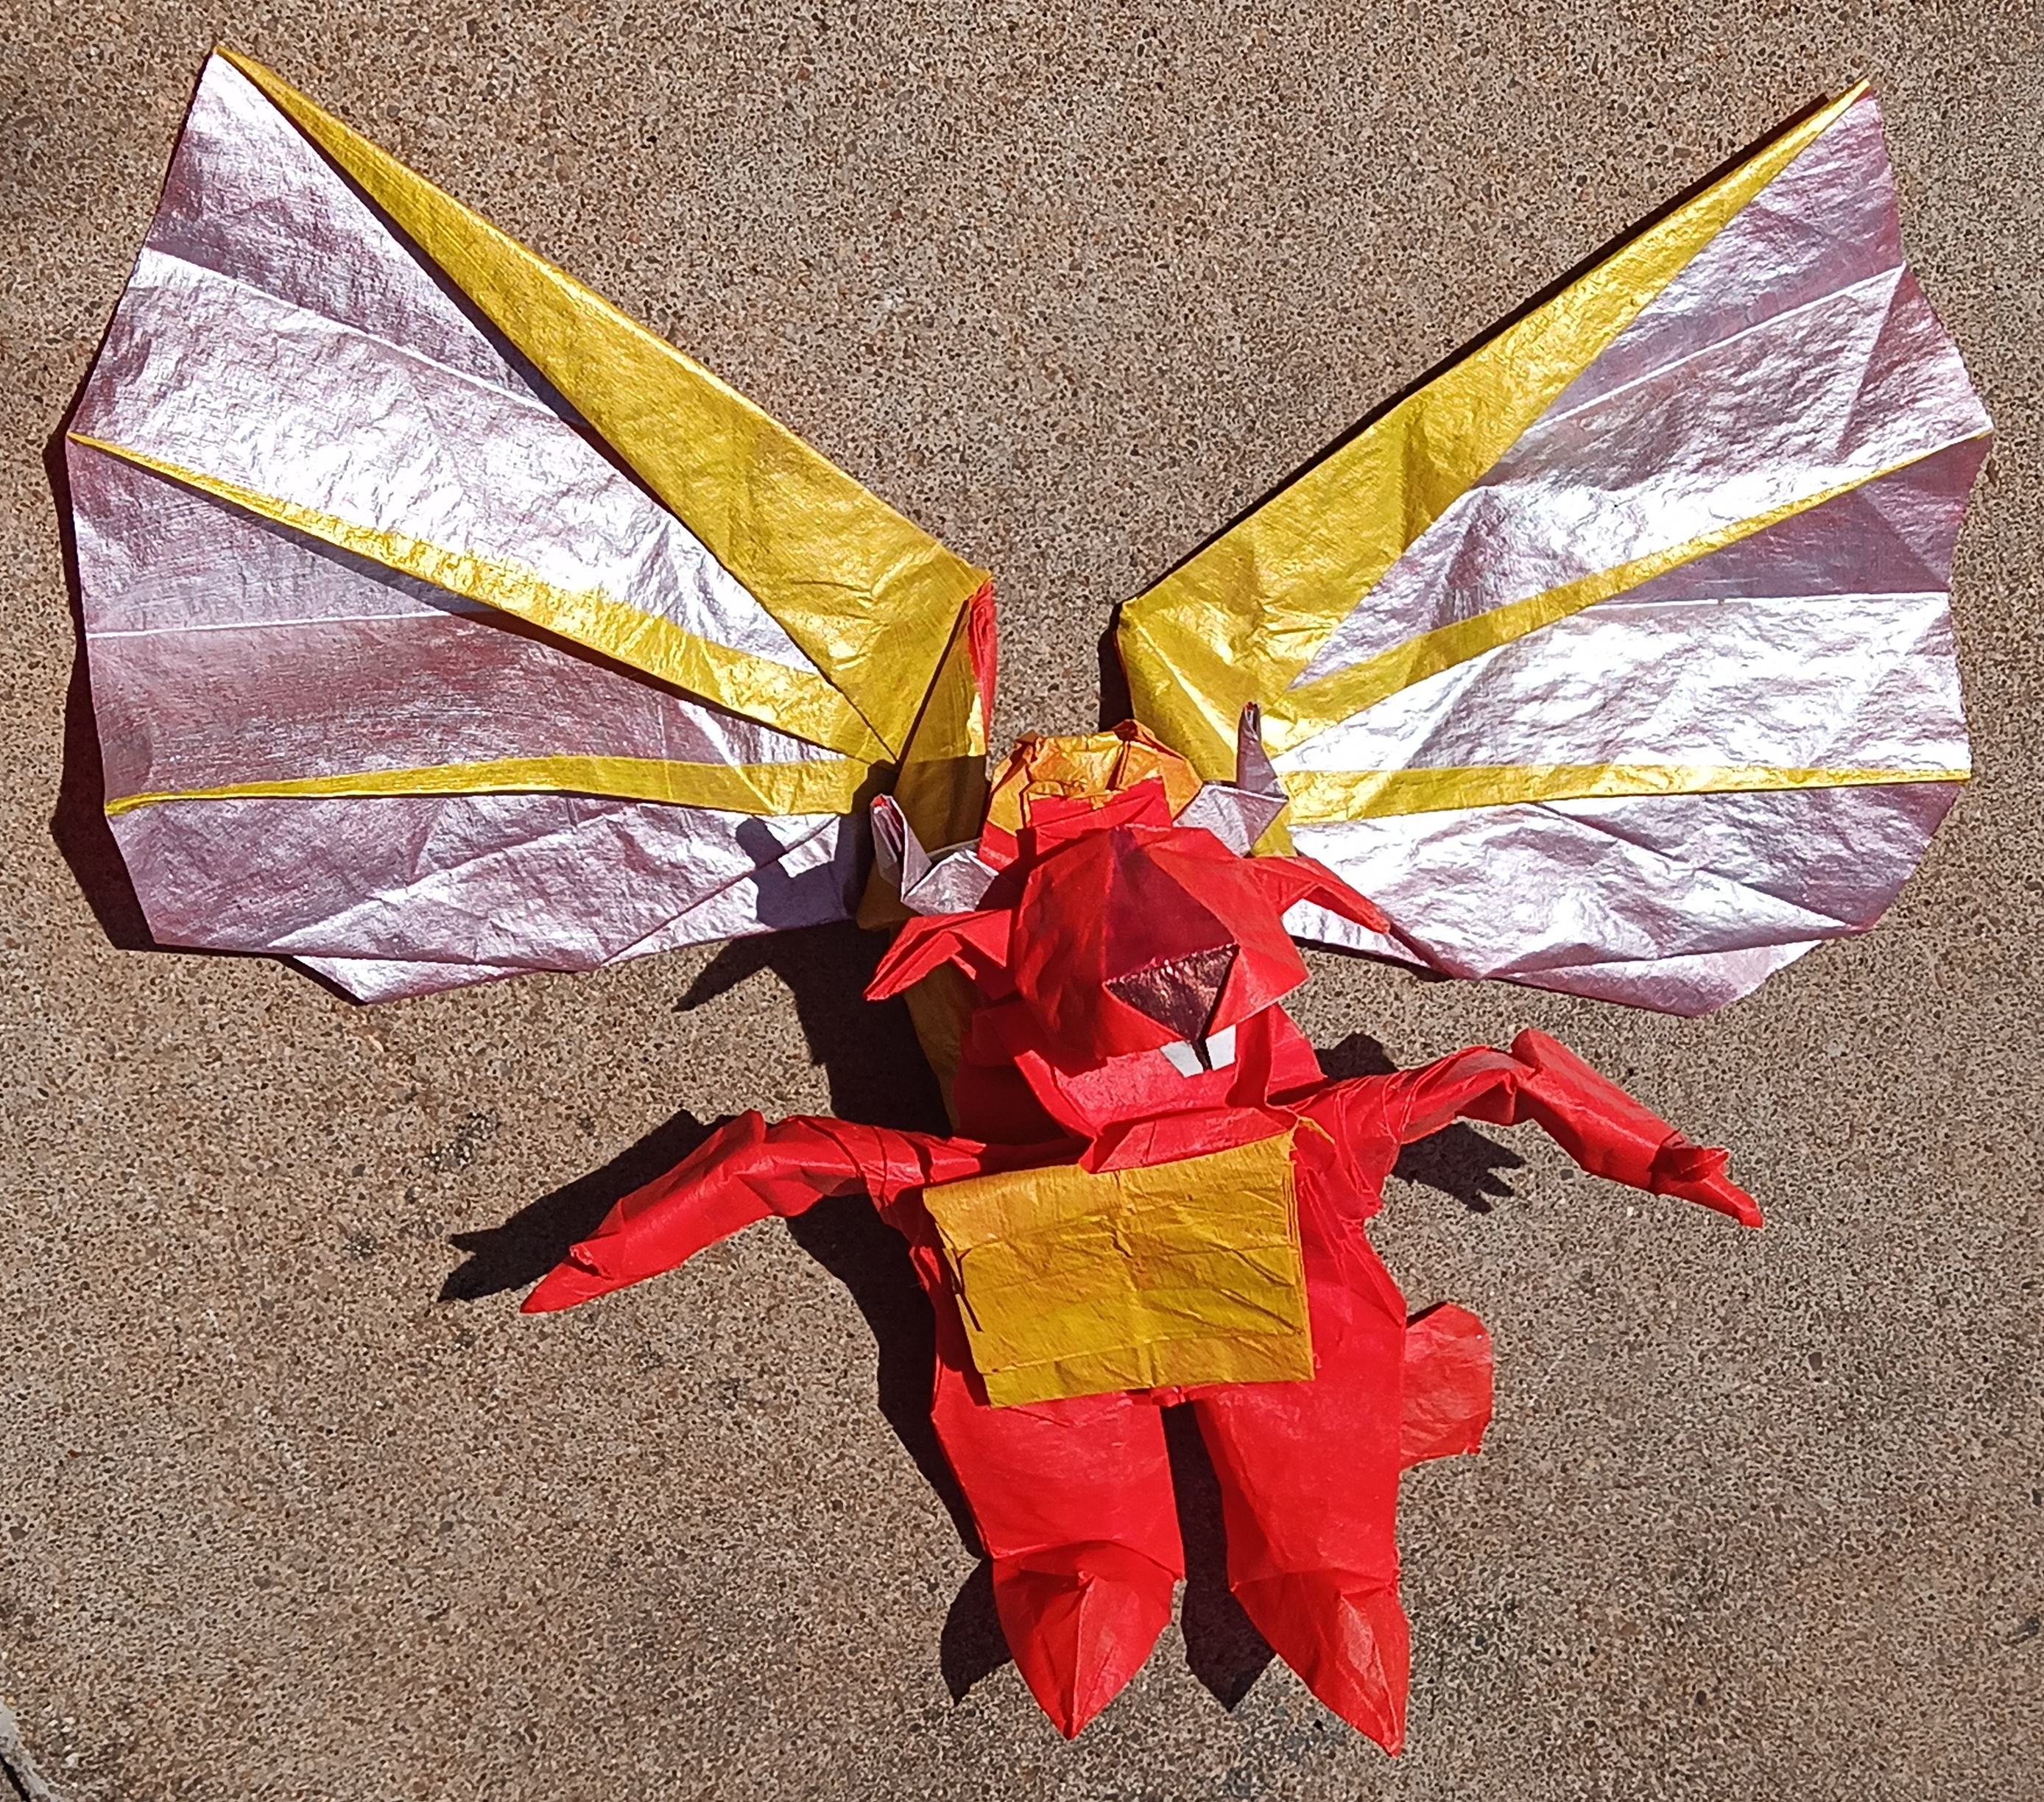
I’ve probably already said, but, whenever I make instructions for an origami model, the model is updated and changed. Here’s the more structurally uniform Archdemon!
This is one of the models that looks better with specific painting for the different aspects. Because painting after folding can be difficult and cause the model to stick to itself, I made an additional page of instructions for pre-painting this time.
I don’t actually know if anyone is interested in folding archdemons (or most of what I come up with, really), so the instructions aren’t here right now. I mostly make diagrams because I’m afraid I’ll forget how I did it. I can make lots of archdemons now!
Here’s a short one for Halloween. I tried to do a human figure, sort of like Takashi Hojyo’s ones off of a grid. I was going for Alice from “Alice in Wonderland”, but she’s proportioned kind of tall for a little girl (I think?). Anyway, I still kind of like how she came out.
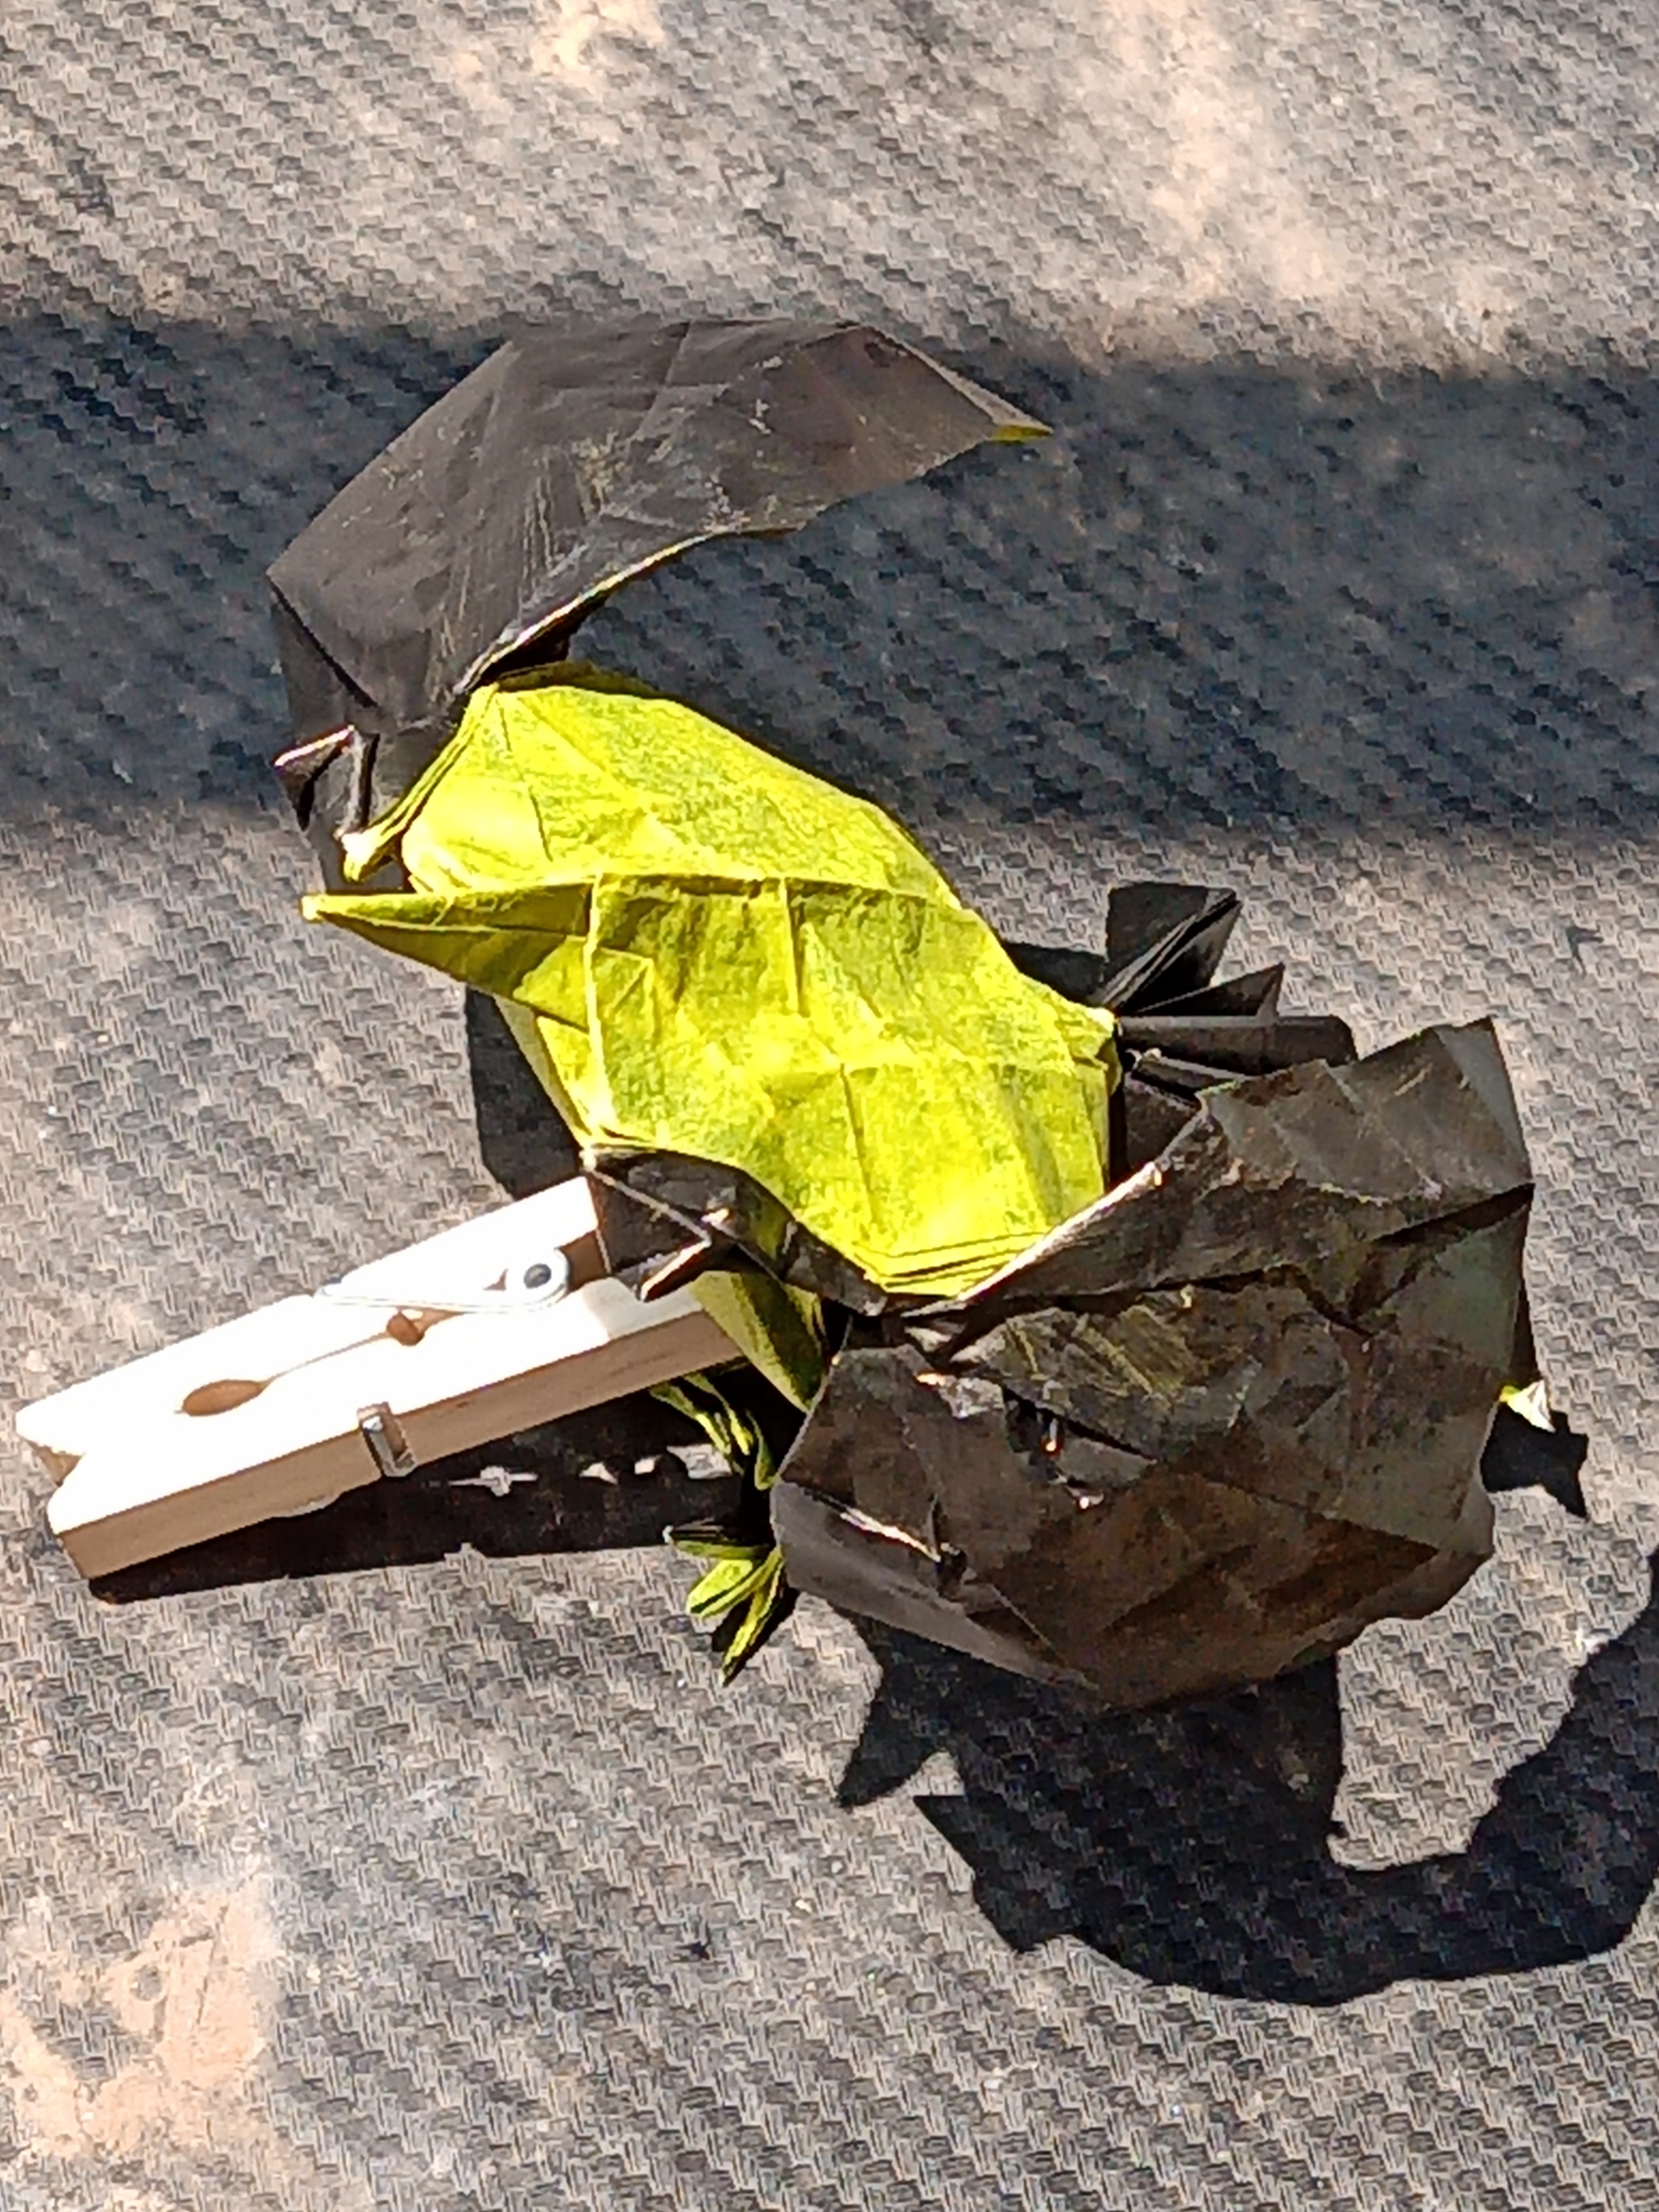
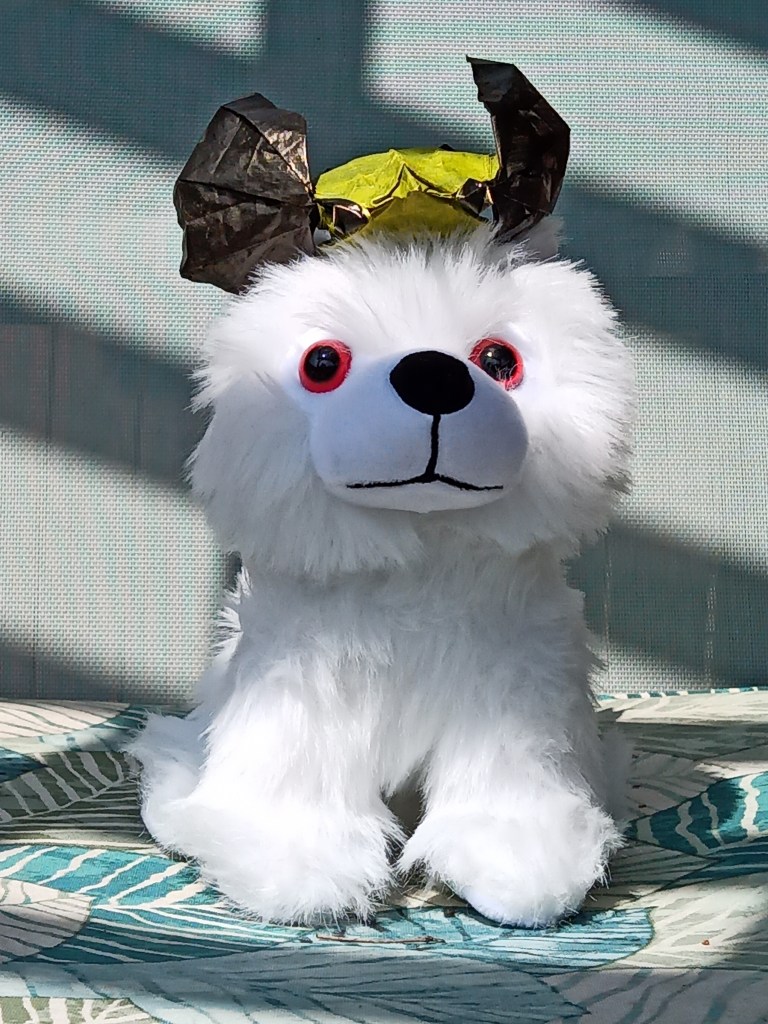
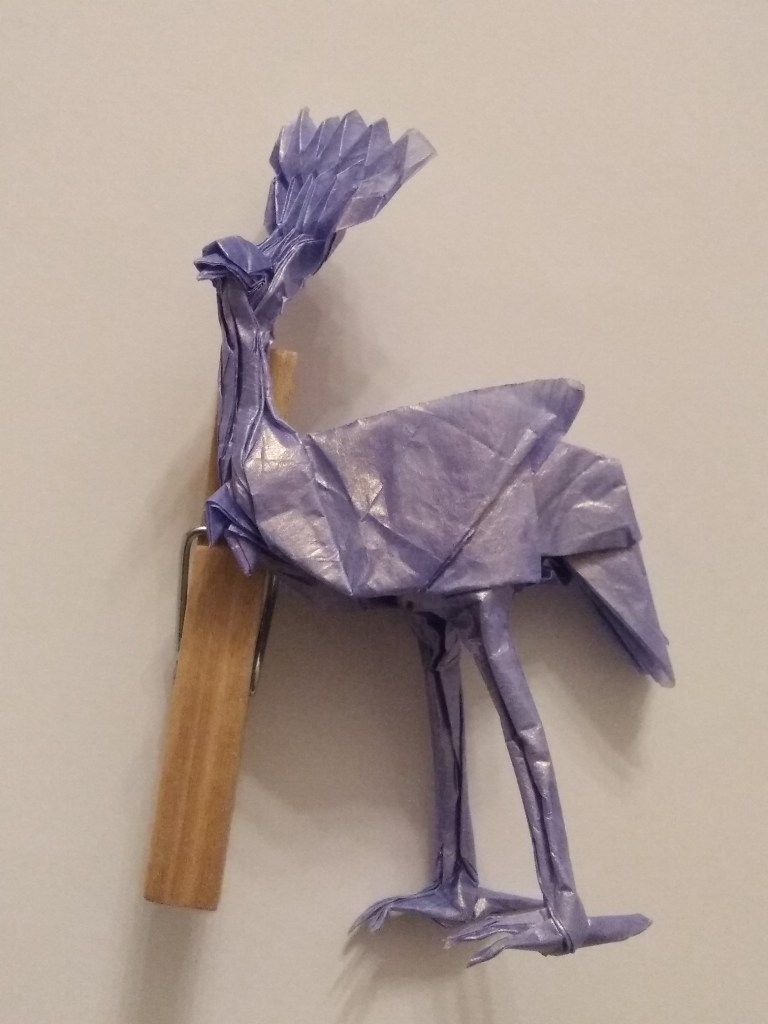
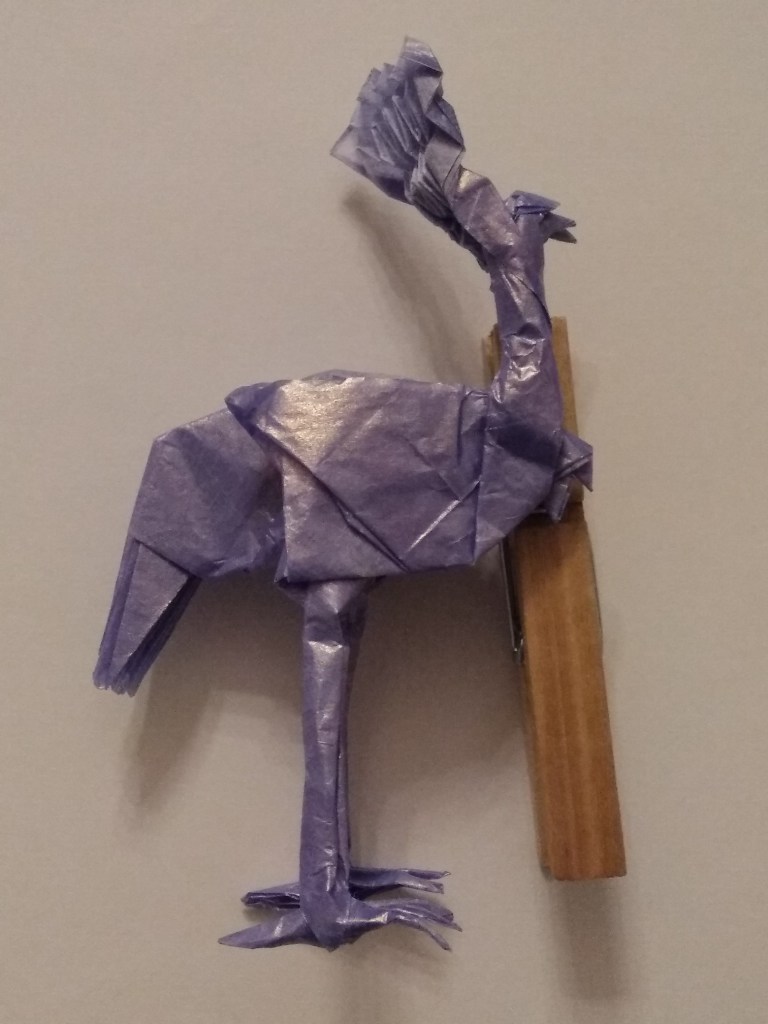
The ‘i’iwi is a Hawaiian bird that’s mainly red with black wings and tail. It’s a bit different than what I usually make.
There’s a strange story with this one. A couple of weeks ago, I was half listening to news in the background and heard about paperwork to a covid vaccine. I think? It sounded like they said you need a form or something called an “e-way”. A few minutes after that, I thought of the ‘i’iwi bird (it’s pronounced like “e-e-vay”, sorta similar).
So, I got this picture of the bird reading paperwork on a laptop.
I made another for diagram steps that’s yellow and black instead. There’s got to be another honeycreeper or other bird that looks like this. The eyes are different with a colour change, which is more like other honeycreepers I’ve seen.
So far, only one person has asked about this one, but I had found this interesting before anyway. I nearly put these with the original post. I double checked and wrote up my notes so they’re (hopefully) understandable.
This is a possible way to get the reference lines, but there may be a simpler way. I want to point that out because this model strikes me as having lines in more random places than most crease patterns. That is, it seems more like a model that has steps like in diagramed models. Creases found based on previous steps would be much easier to fold/follow. However, it may just have intentionally difficult to find reference lines for the challenge part.
My finished model (from the double checking) follows the reference line diagrams below.
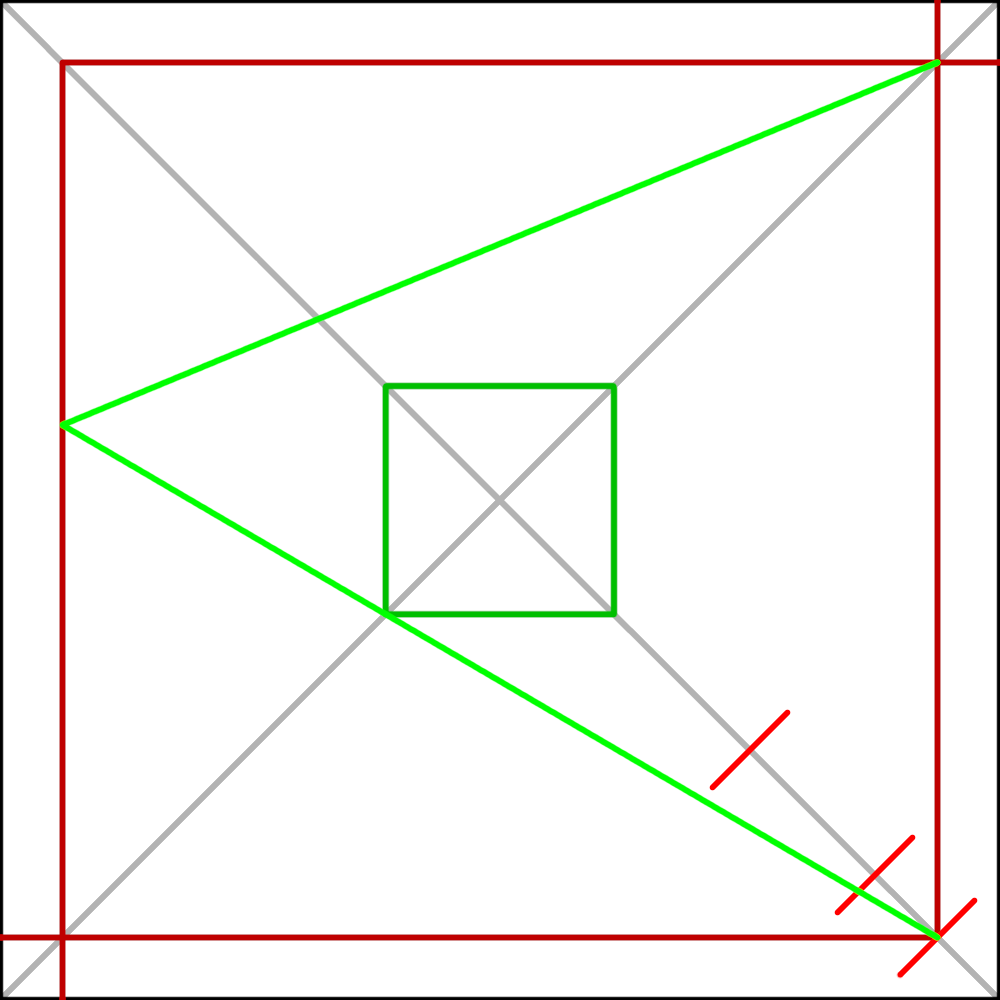
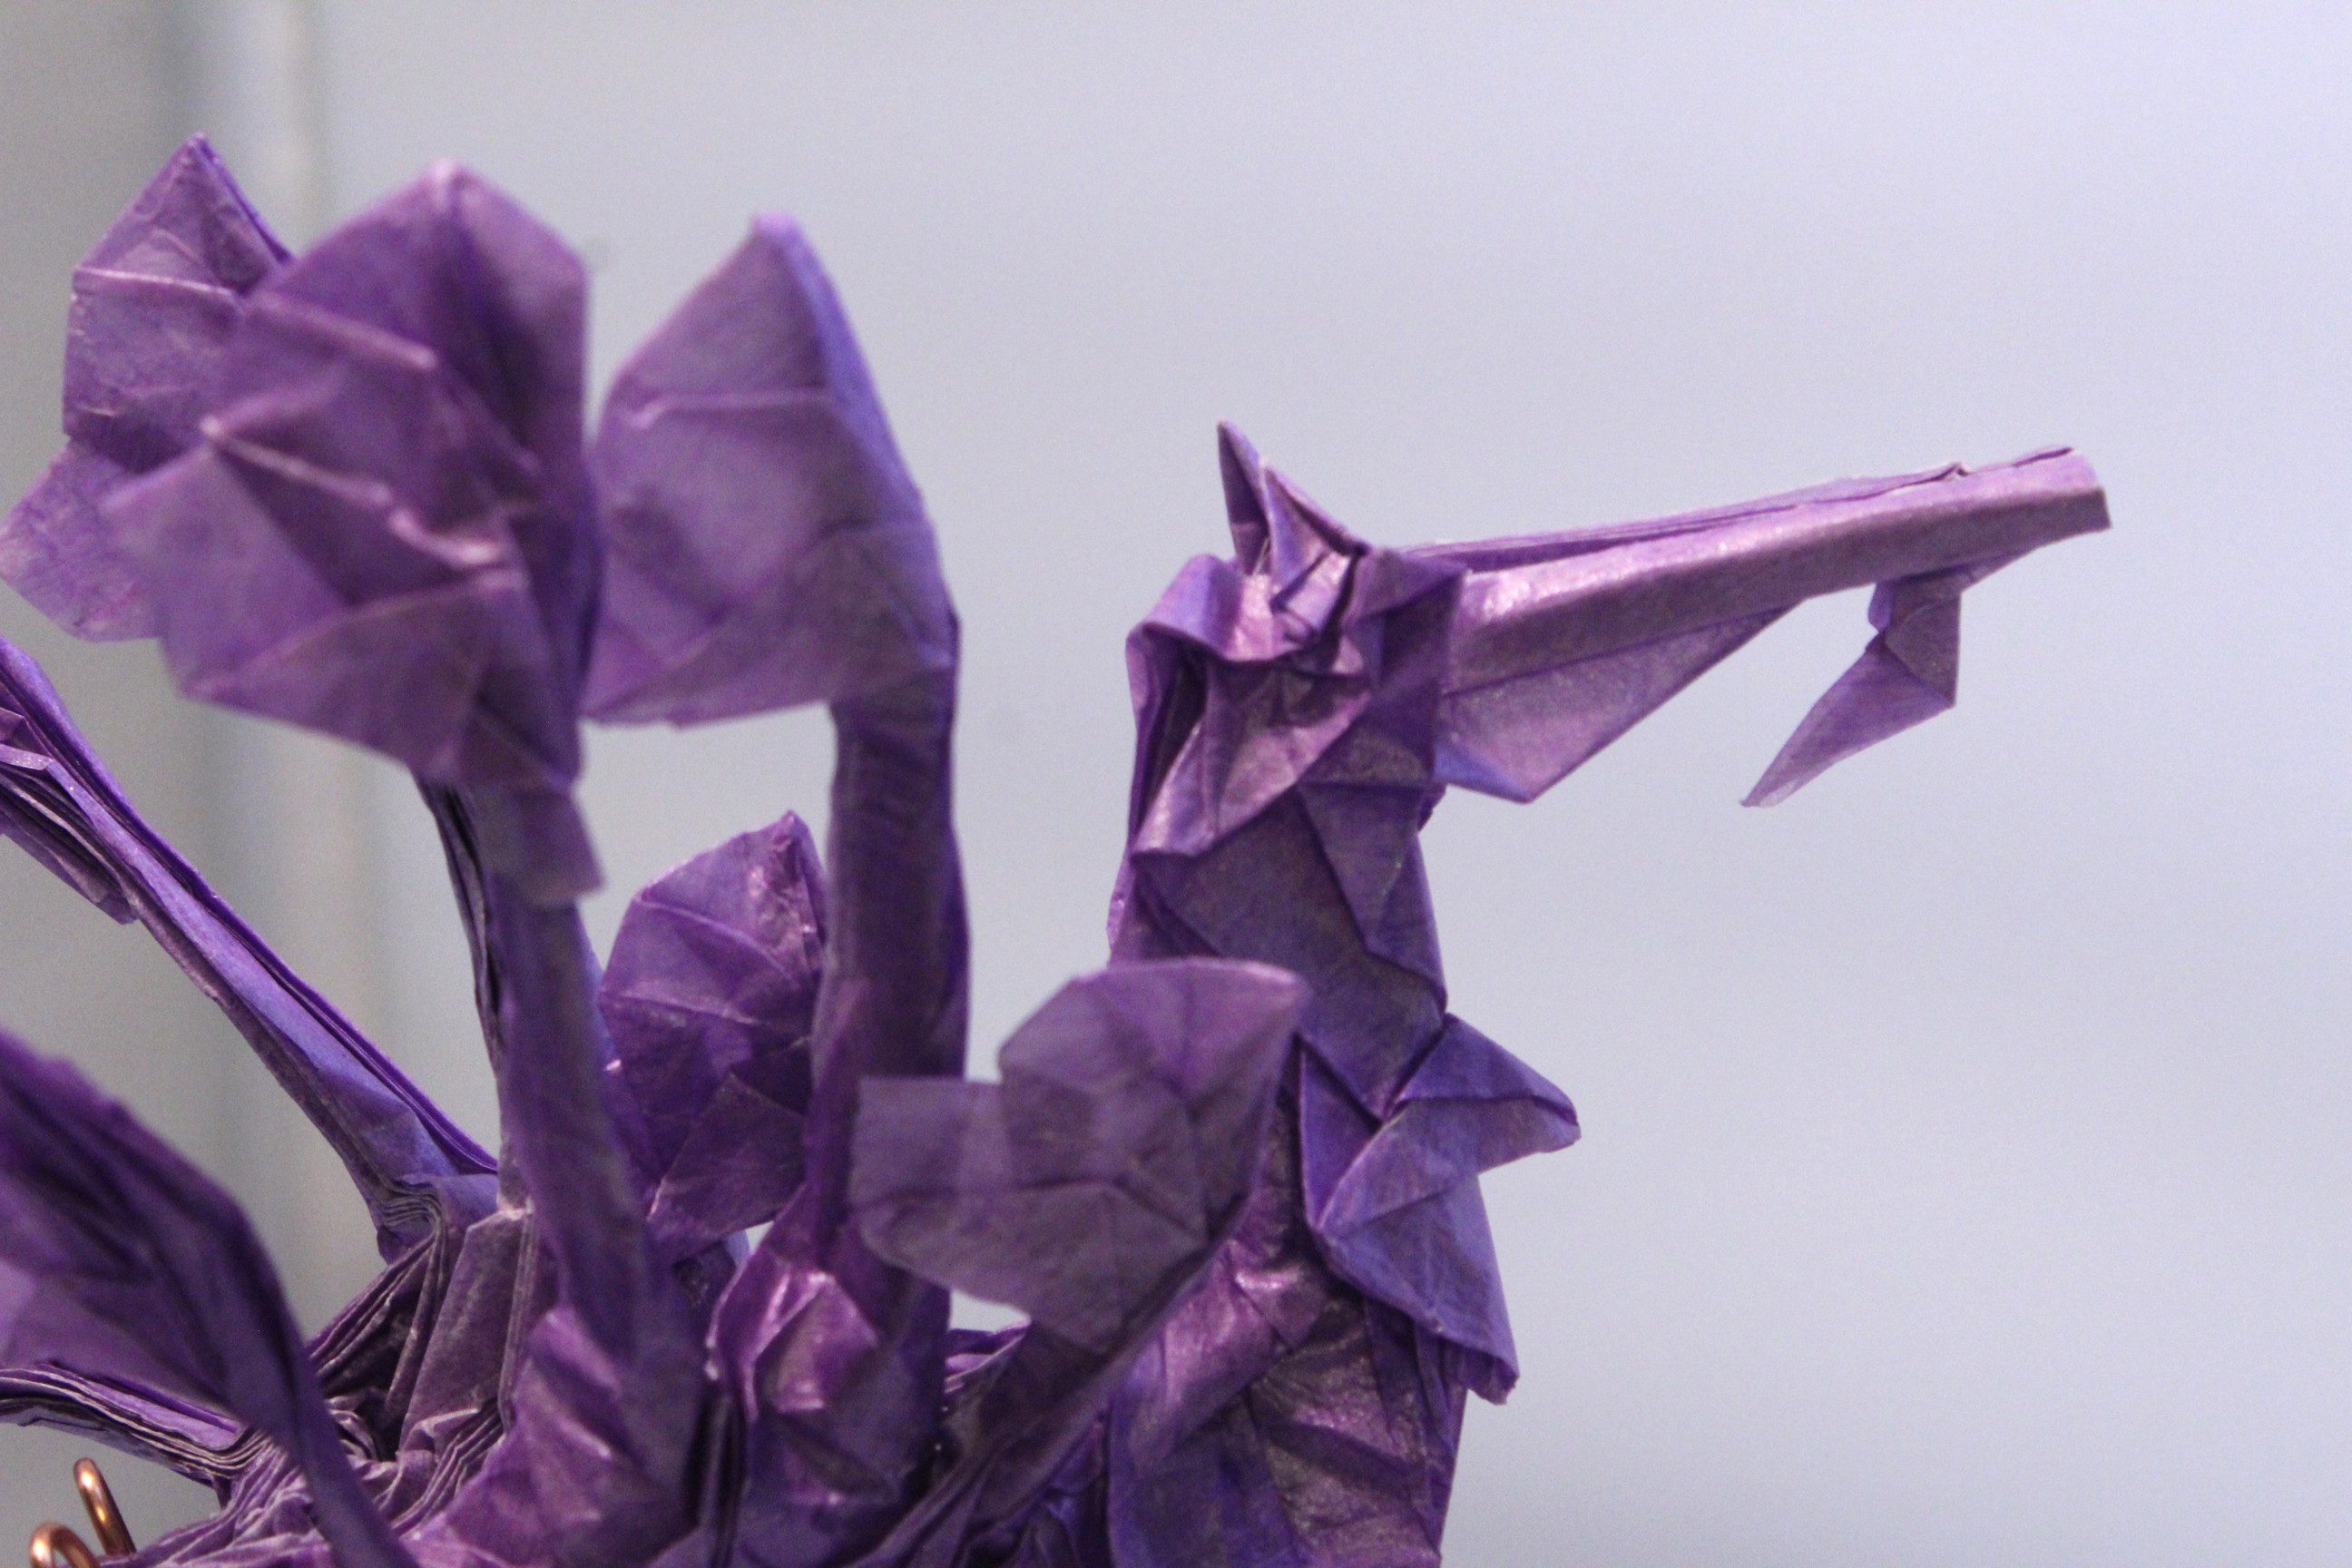
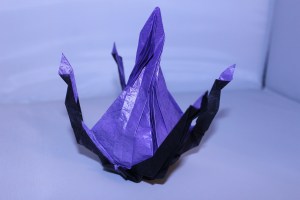
I’ve gotten a few people ask me for help on Kakami ‘s Leafy Sea Dragon (CPC 69, OTM 125). I didn’t really remember it, so I folded it again and have some tips here. Although, I think my fold is a little off. Also, this one is purple for Dragalge, a pokemon I like that’s being reintroduced into the game with an expansion! Not that I’m going to get the expansion at that price before I find out if it’s worth it…
Anyway, first, here are the reference points (without the crease pattern). Most people trying this have probably figured them out already, but the inner square’s reference isn’t super standard.
For collapsing, the tail corner is across from the head, and almost all points on either side of the diagonal separating them go towards their respective corner. I picked one of the corners (the tail, but the head should work fine if you want to start there) and collapsed that side moving from the corner in. The edge points are the spines that look like flags, while the interior points become the spines with diamonds underneath the dragon. There are eight of these interior points, but they are paired together to give each of the four spines two diamonds.
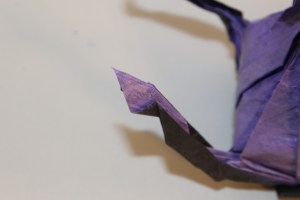
The interior points are the ones I did a little off. They collapse opposite the section you’ve already folded (if you went from a corner in, the spine forms with the opposite side of the paper) and must be popped out.
In the crease pattern, lighter lines are mountain folds while darker lines are valley folds. The lines around the points are where the pop out section occurs. They switch between valley and mountain because the fold is through the already folded point. However, there has to be a pair of both valley or mountain folds where the spine folds along. These are the red circled valley folds. I mixed up valley and mountain folds and was looking for a pair at no angle (which I’ve seen more), so I switched the yellow circled section to two valley folds.
This is minor and shouldn’t make the model look different, but I wonder if the other way would lock the two spines together.
Other than popping out the interior spines and the “watch out for” part, I have a couple other minor tips. The tail section seems to have a few unused points in it (I don’t know why). Finally, a paired set of notes: part of the center square sticks out and the lower body curve doesn’t seem inherent to the crease pattern. For both of these, I crimped the tail down after collapsing, and then folded the extra paper inside pockets in the tail while shaping it.
Those are the general tips I’ve got for that one. If you have any other questions on this or others, I’ll be happy to try to help if I can (I tend to be slow tho). Besides here, I’m on Instagram and Twitter, and you can show me what you’ve done on those too!
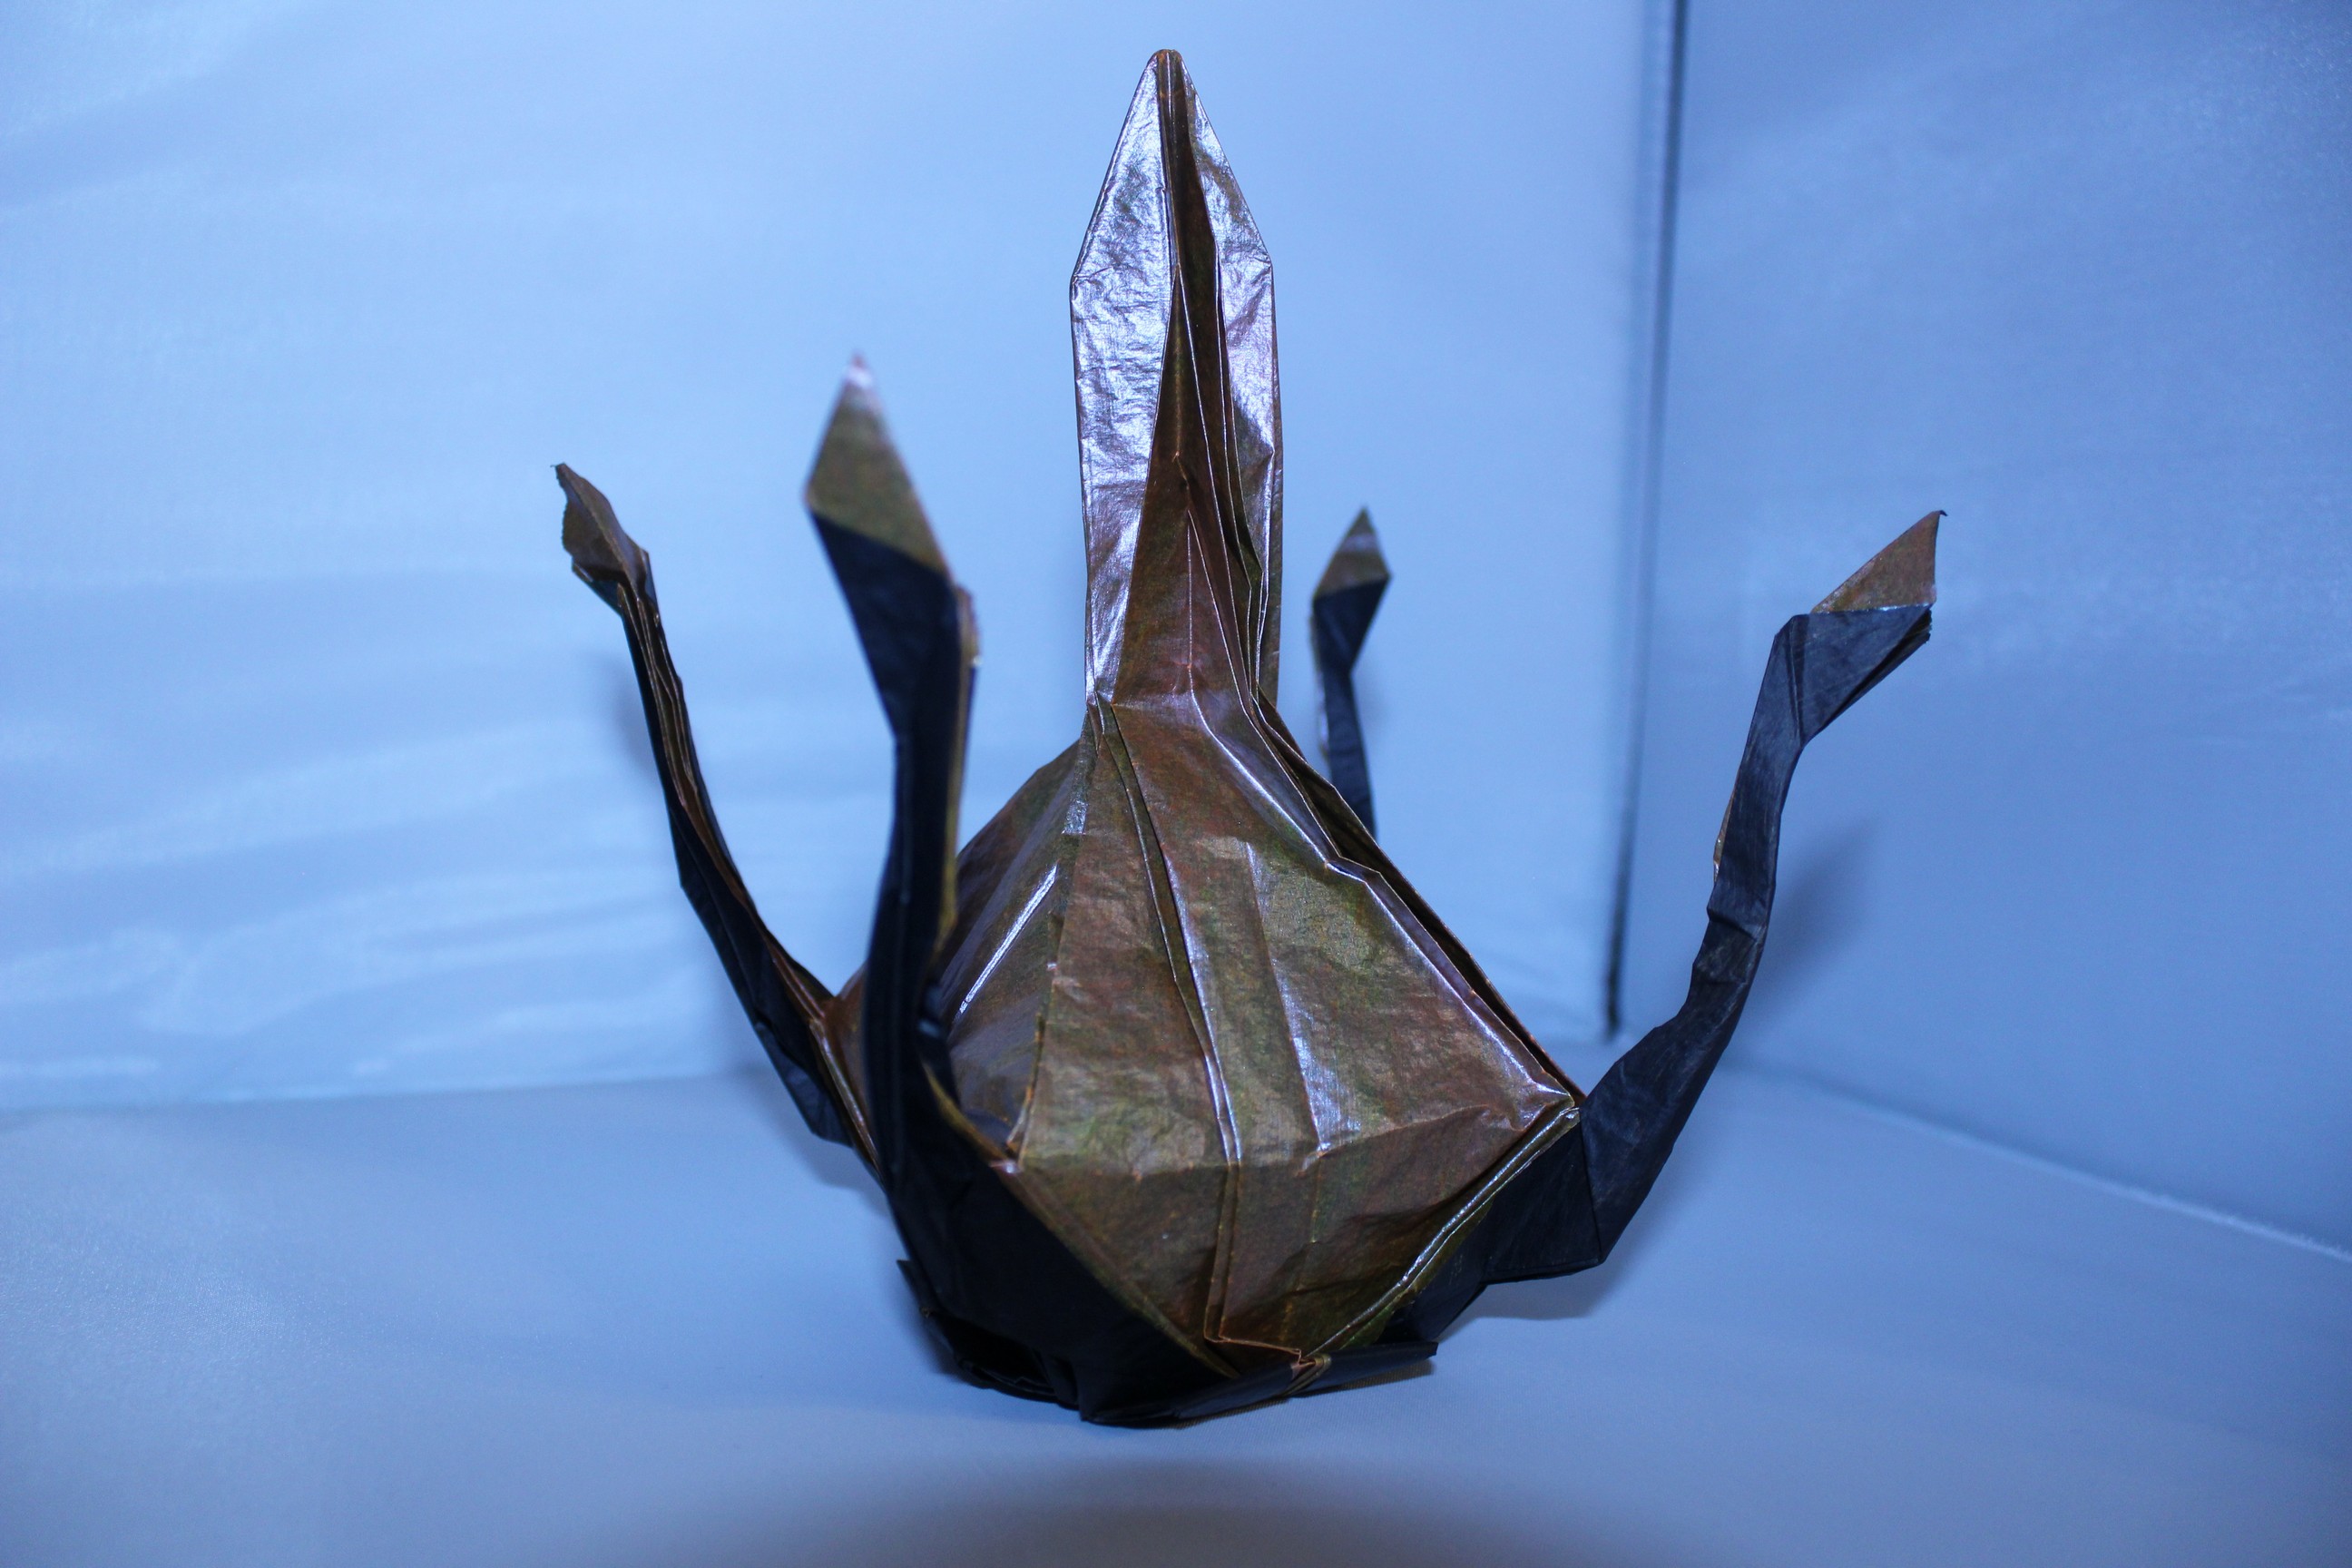
This is another one of my pokemon origami… sort of.
First off, Chandelure is a ghost fire pokemon that is a haunted chandelier (evolving from an initial haunted candle, which then becomes a haunted street lamp top, and finally the haunted chandelier). He’s from Pokemon Generation 5. I usually screw up the English names of these pokemon (I got the gen 5 games in Japanese, because they came out 6 months earlier than in English). This one has a similar name in Japanese (シャンデラ/Chandela), so I usually remember it alright.
I said “sort of” because my Chandelure is more like an impressionistic version. The original pokemon has 2 arms that split into three bars each, two of which are lit, while mine simply has 4 lit arms. I’ve thought of ways to make it more like the pokemon but haven’t gotten around to it. This is partially because I kind of like mine the way it is. If that’s too annoying for you pokemon fans, just think of it as a generic haunted chandelier.
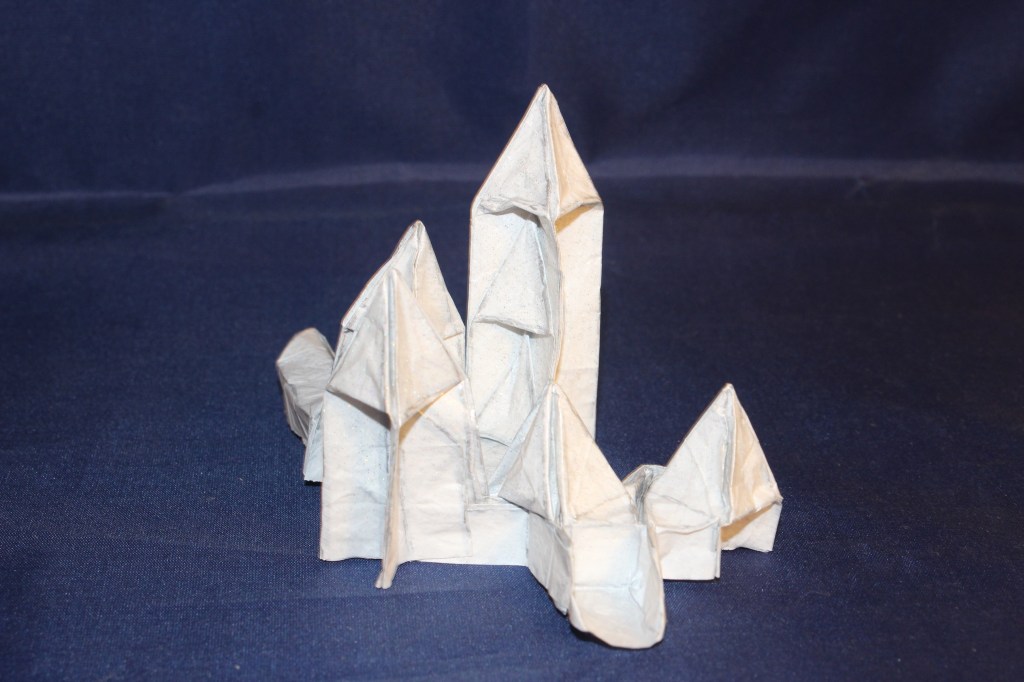
This is one of Hojyo’s experimental seeming models. He has a kind of specialty in people models (which are amazing), but he goes out of his comfort zone a lot with interesting models nothing like those.
Mine doesn’t really do this one justice. It looks like he used a stiffer paper, which would probably snap together once you got the folds right. I had this shimmery white paper that I insisted on using which is too thin. It still shows the idea tho.


